
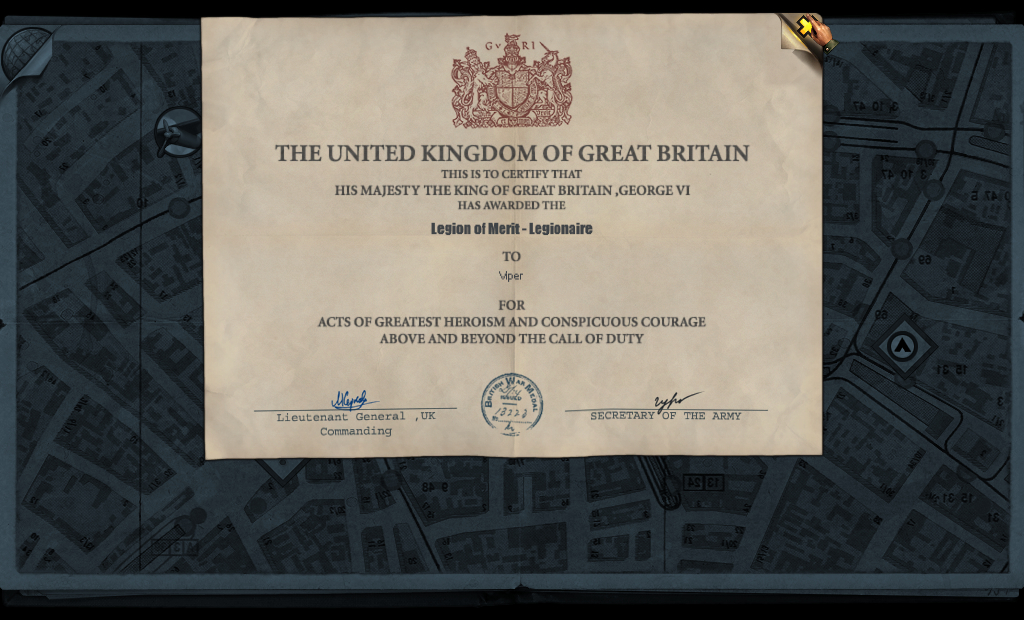
There was so much ranged combat and sniping in that last mission, it’s no surprise — Viper’s being recognized for exceptional badassitude.
And here are the new leads we’ve got:
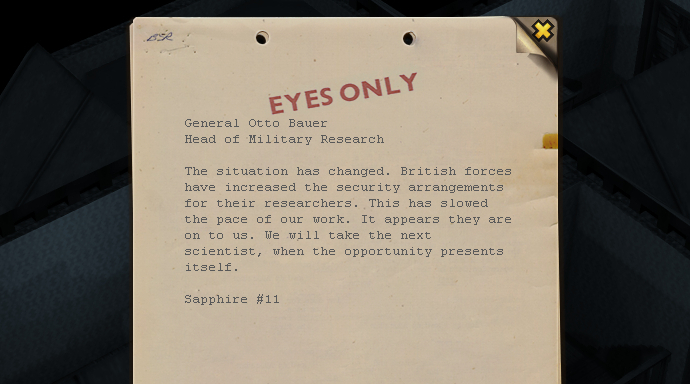
More to the point:
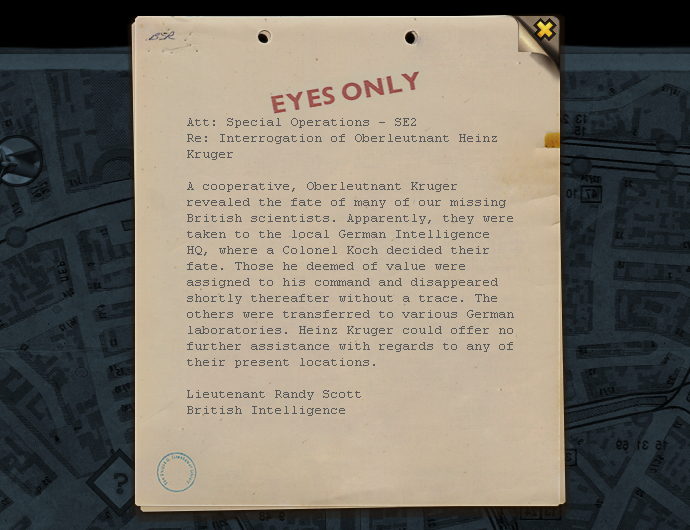
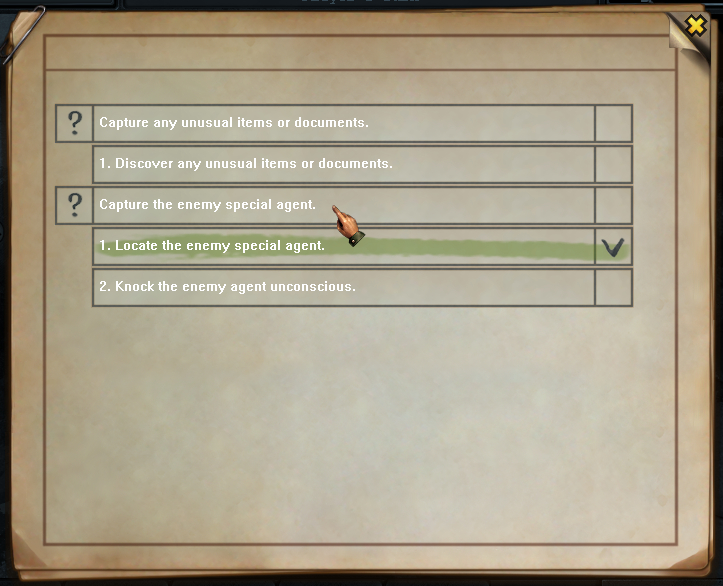
This Colonel Koch seems like the next guy we should be tracking down. But before we deal with him, I think we oughta clear out the last of the German presence in Britain. There’s one mission left to be done there, and then we’re free to focus all our attention on Germany.
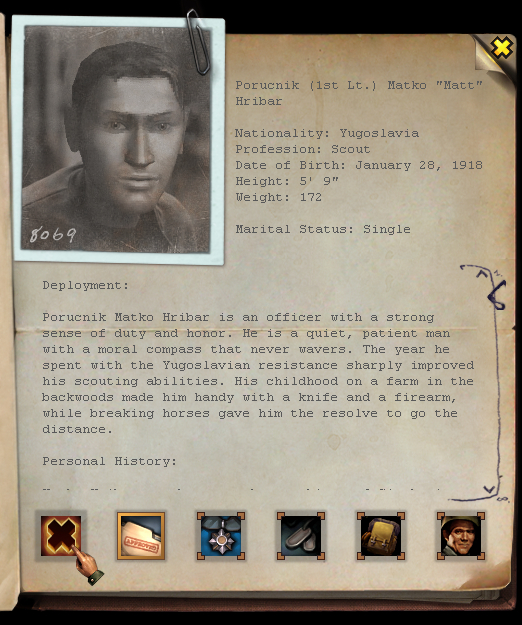
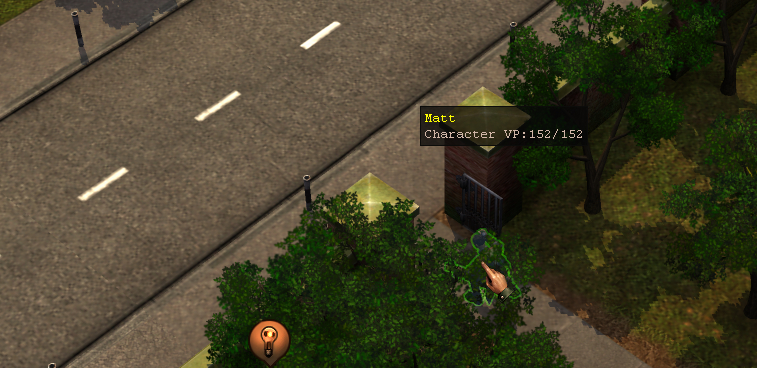
But before that, we’re heading for a few random encounters to test out our new team dynamic. The team now includes a new soldier, Gator Ferguson, and a second scout, Matt Hribar.

If you’re wondering what the reasoning is for that, I did a little reading between episodes — the kind of reading I probably should have done at the beginning of this LP — and learned a little about how to increase our survivability.
I’m working on getting the Vanguard ability for Sook, which supposedly will allow him to always get the first turn in combat — and thus, make him the ultimate room-breacher, since he’ll never trigger interrupts. (This is my current, and possibly flawed understanding.) While we’re waiting on Sook to level up enough for that skill, I’m grabbing another scout to be our breacher for now.
 I… I look very much forward to proving myself a valuable member of the team!
I’d previously been, more often than not, choosing our soldier for that duty since they’ve got the highest HP by a wide margin. Raw HP, though, as you’ve seen… doesn’t appear to mean much in the face of a full-auto SMG burst. For now, the relatively weak (but very sneaky) Matt is going to be opening our doors for us. And Gator’s there because, heck, every team’s got to have at least one guy with a big machine gun.
 And there ain’t a German out there who can match my skill with the ladies.
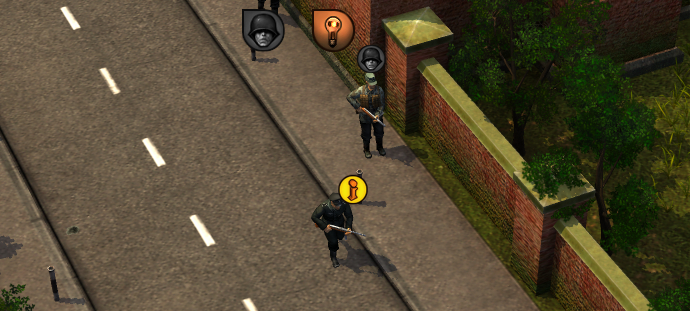
Anywho, our first encounter is with four or five Germans out in the open.
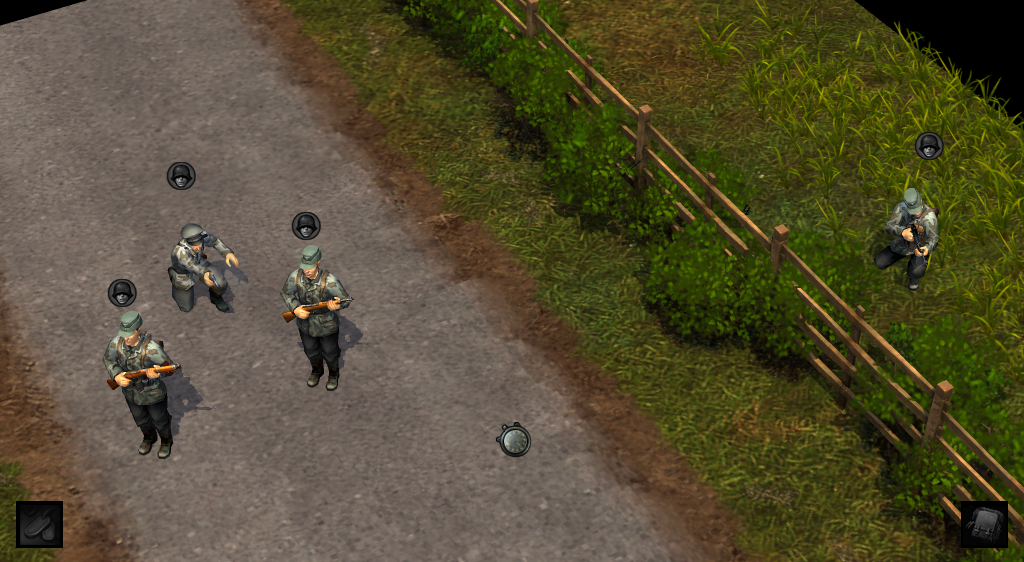
Not a great test of the skills we wanted to see from Matt, but he does get to demonstrate something else.
The ceremonial Throwing of the Xena: Warrior Princess Blade Disks.
 That’s a nice trick there, kid.
We have very popular Ultimate Frisbee league back home in Yugoslavia.
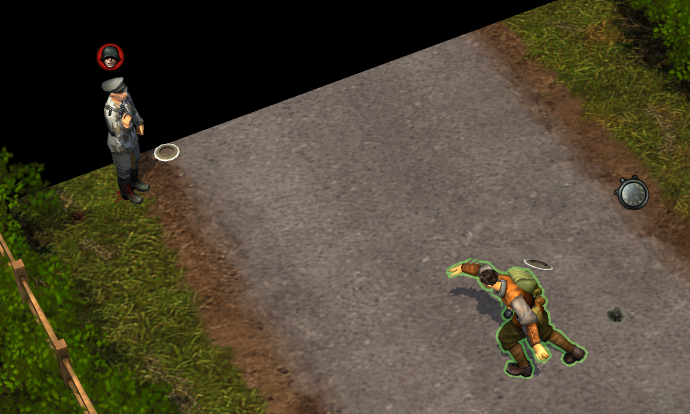
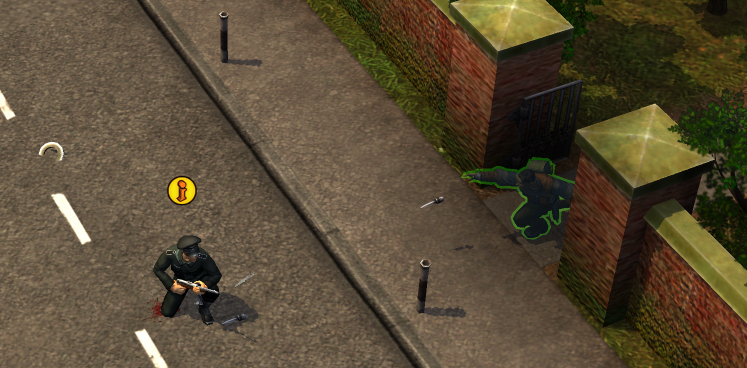
I’d long-doubted the scout’s thrown weapon skill, but it actually turns out it’s quite useful. The range on throwing weapons isn’t great, but they do decent damage and you can throw a ridiculous number of them in a turn. For comparison, firing Matt’s pistol (the fastest weapon type to fire) costs 16 action points. Throwing one of these chakrams costs 10. And then there’s shurikens that cost only 7. Matt could throw nine of those in just one round; no enemy we’ve seen so far could survive that.
Of course, the downside is that you’ve got to pick them up again.
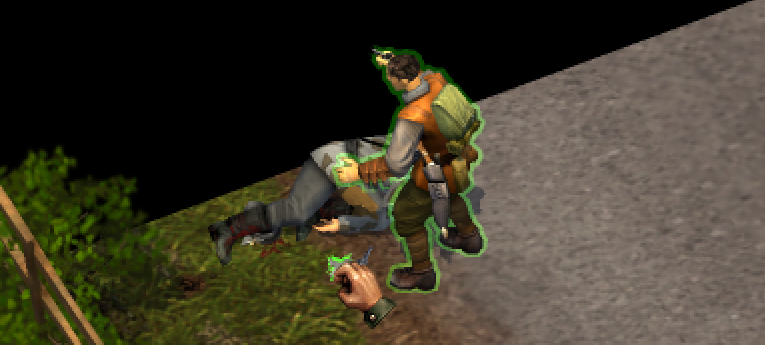
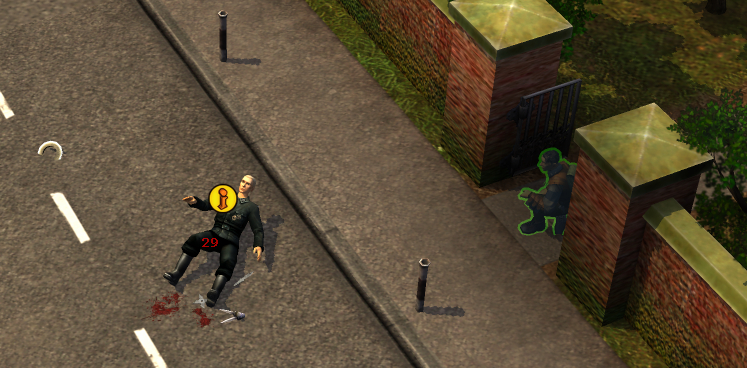
A second random encounter lets us play around with Matt a bit more. Here, he somehow manages to stand toe-to-toe with a bunch of Germans and remain hidden — and then explode this one dude’s head with a shuriken!
You’re hired.
I like this kid, boss. Can we keep’im?
 I’m certainly not turning him away, considering how fast we go through recruits.
Nah, I got a good feelin’ ’bout this one. He’ll be with us fer a long while yet.
Once we’ve created a suitably gruesome pile of corpses at both these locations, it’s time for the main event. We’re off to “a small English town.”
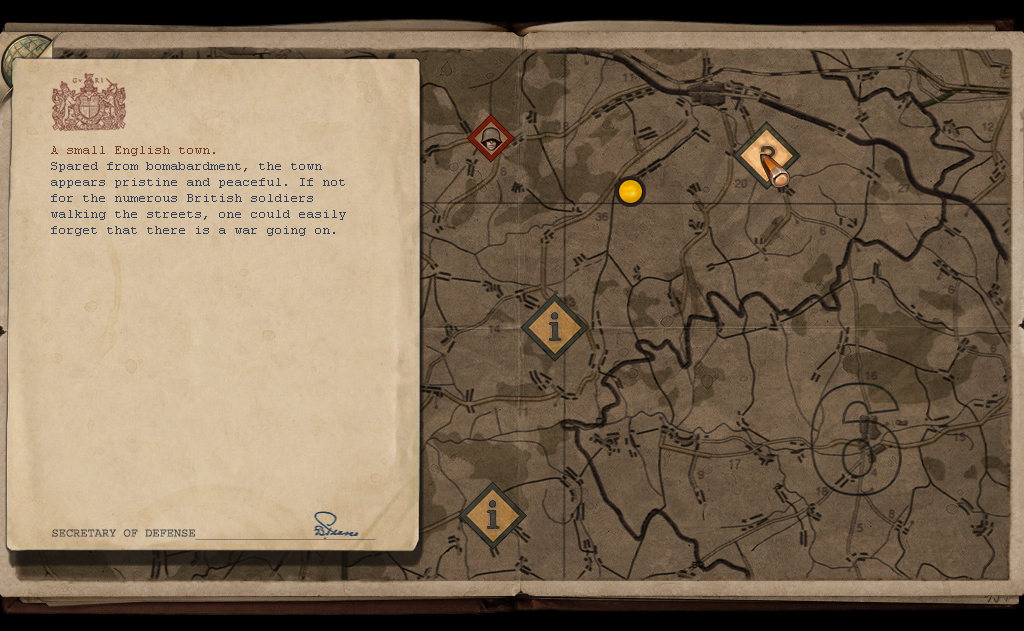
A cutscene informs us that there’s a shootout between British and German forces already underway.
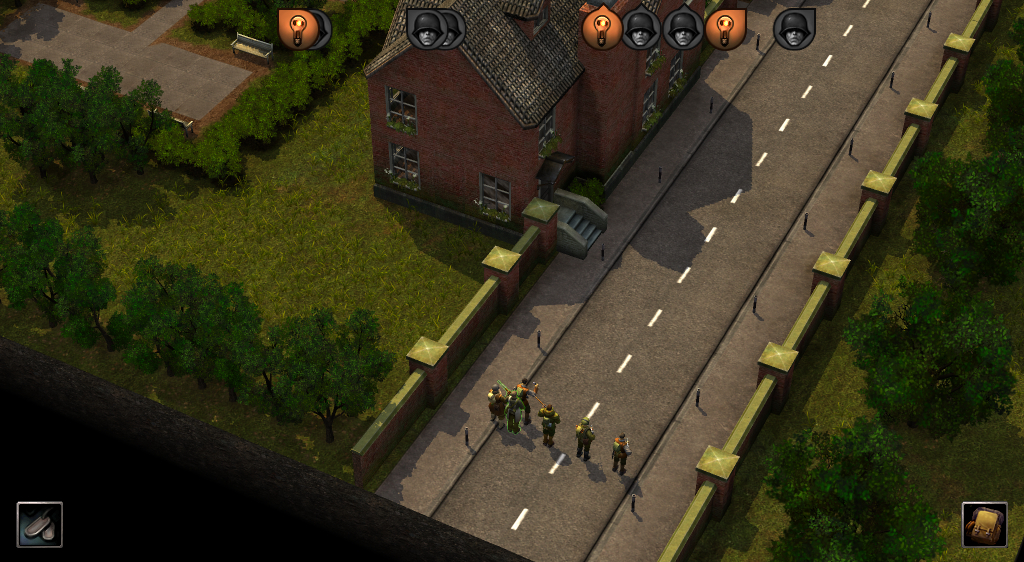
Here’s the conflict from our perspective:
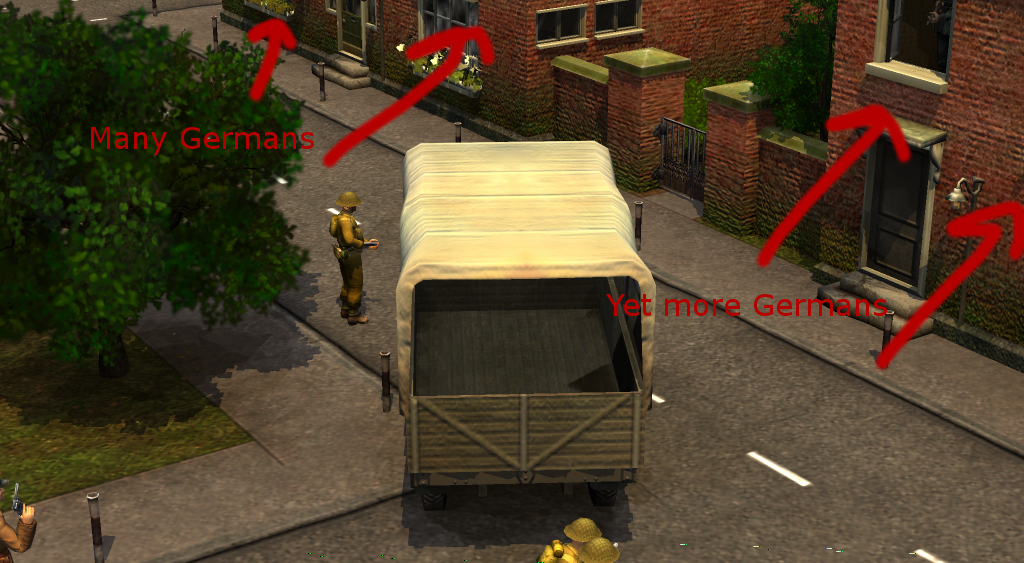
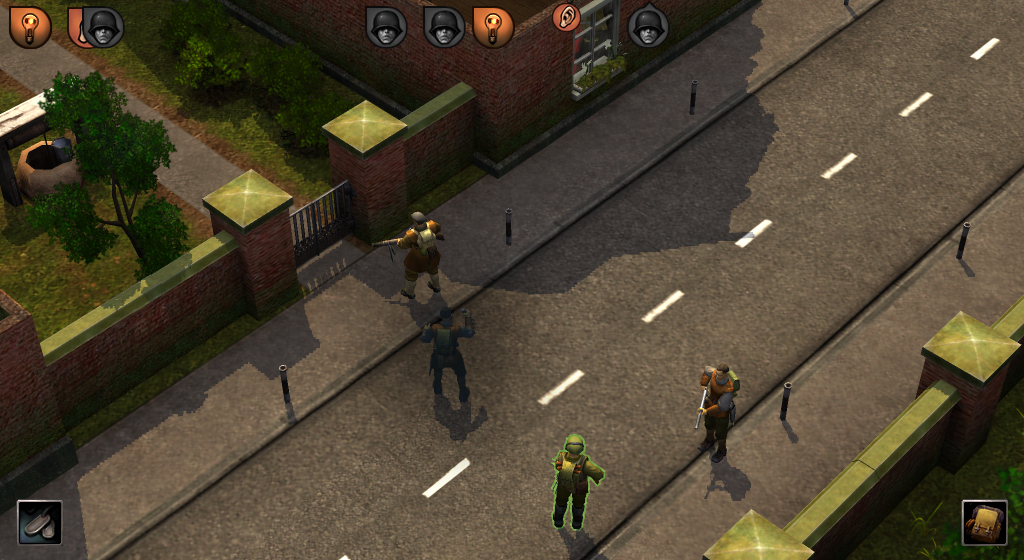
You can only see a handful of German soldiers in this shot, but those two buildings are crawling with them. In contrast, there can’t be more than seven or eight British soldiers.
And they’re outgunned.
The Germans have brought some serious hardware.
And here we are…
Way down the street to the south, past a third building.
Let’s take it slow. They could be lying in wait for–
We’ll hav’ta hoof it if we’re gonna back our boys up!
Let’s go, then! There could be some British damsels in need of rescue!
 I’m right behind you, lads.
…when did you all stop listening to me?
 I don’t believe they ever did listen to you, sir…
It’s getting real by the time we reach the firefight.
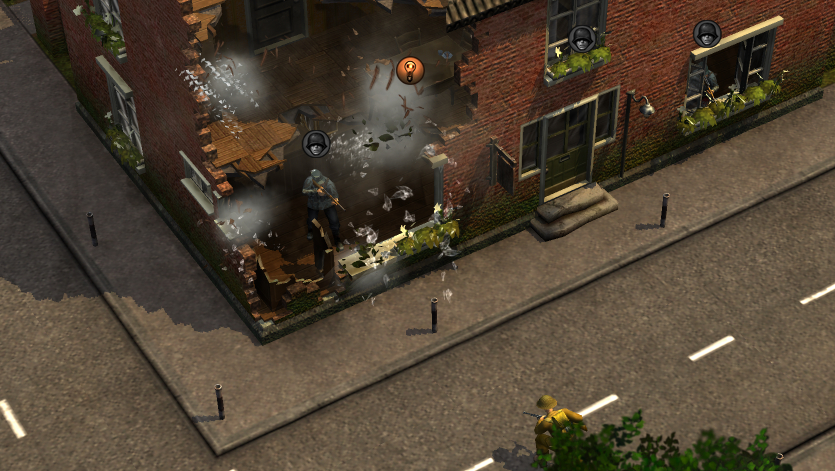
Turns out the British have got some explosives of their own — and I guess they’re not afraid of leveling their own buildings.
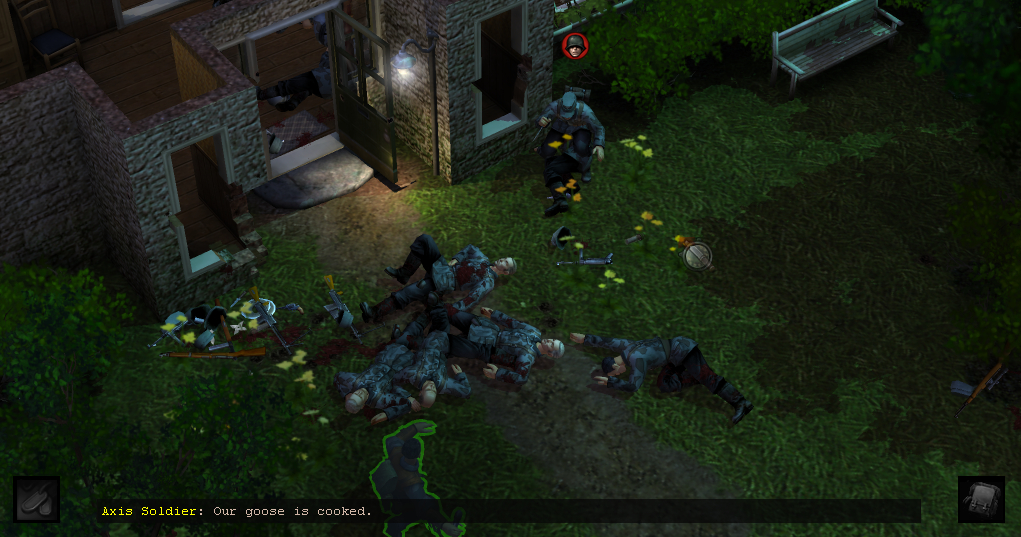
But the Germans still outnumber them, and the British are dropping like flies.
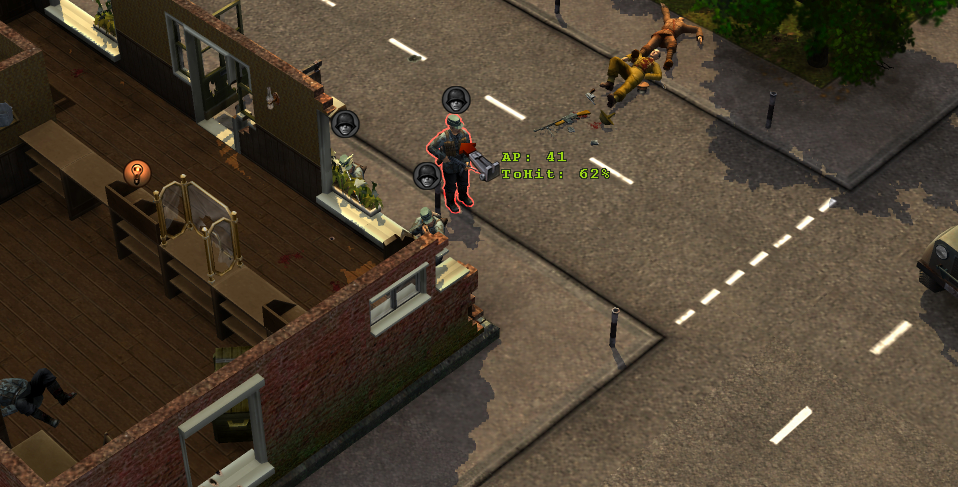
That’s our target who just killed that soldier, by the way.
At least this objective was easier to find than the last. It’s just a matter of getting to him without dying on the way.
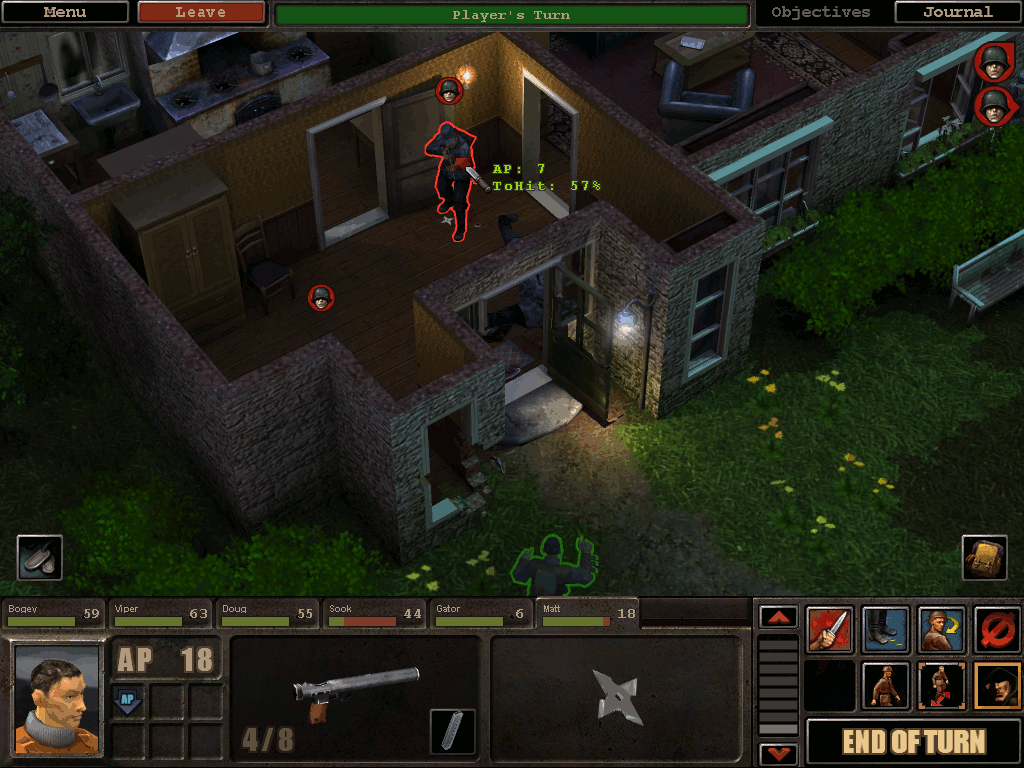
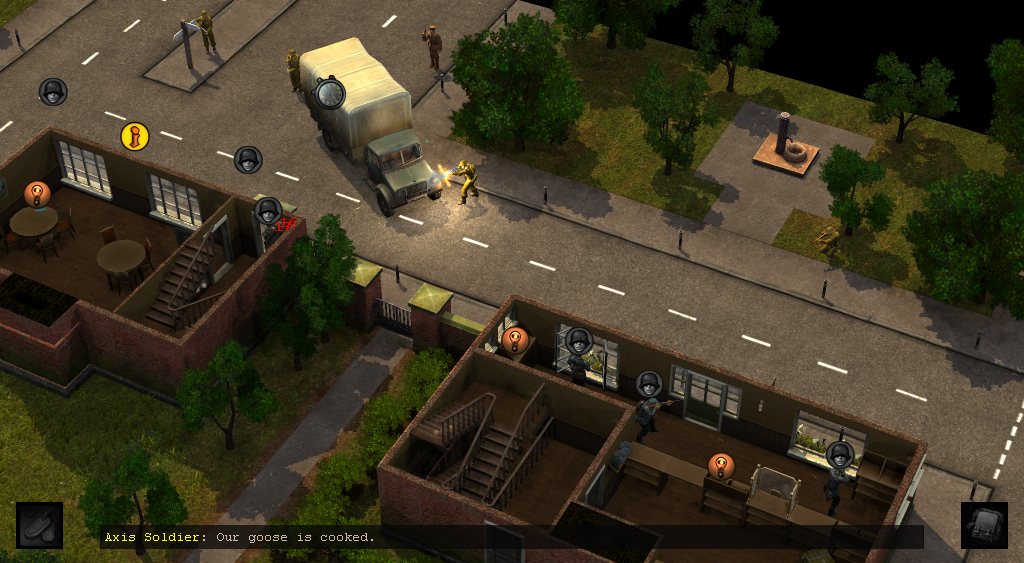
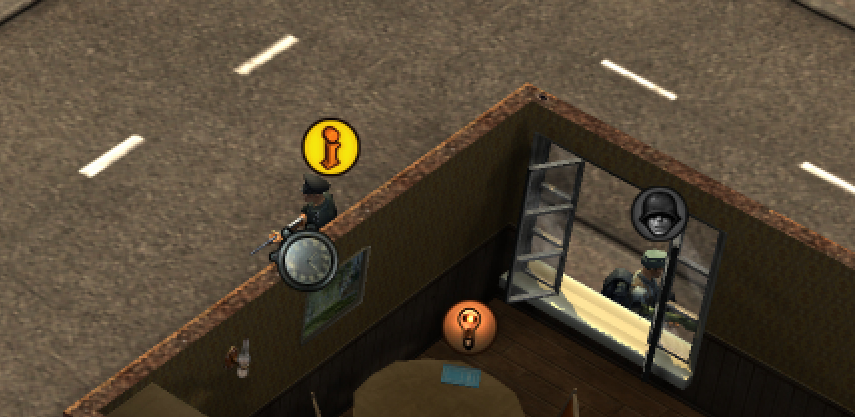
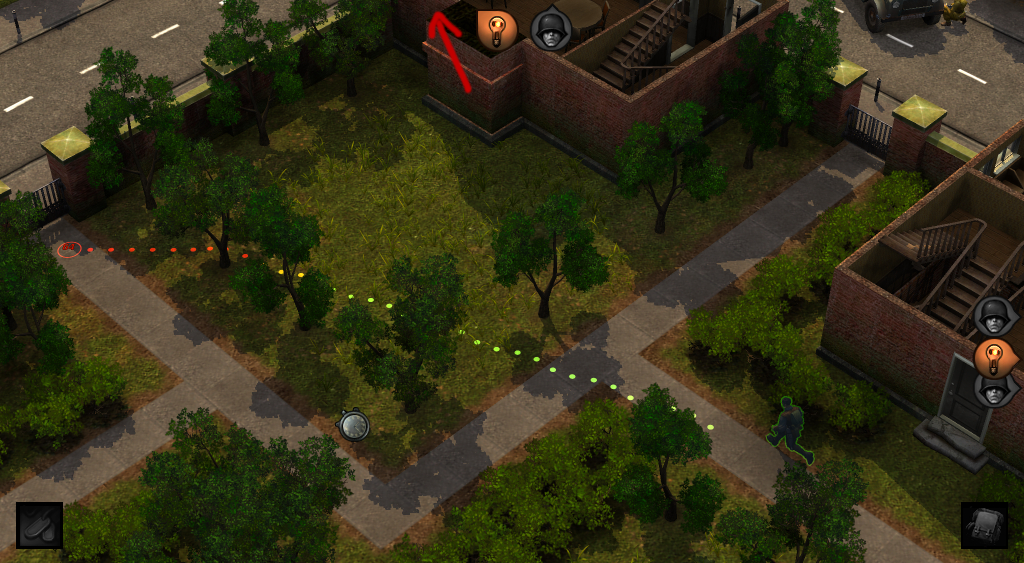
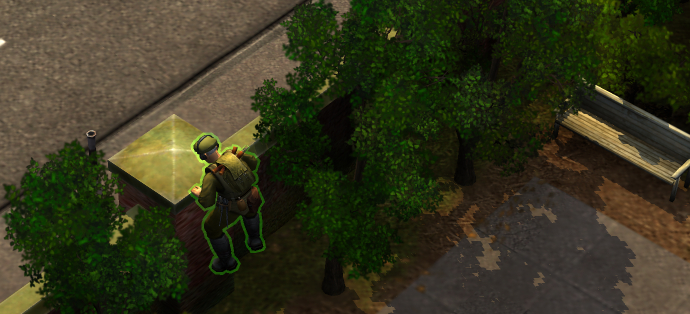
We’ve reached the nearest of the two buildings the Germans are holding. Gator and Matt use the gate here to enter a courtyard area that sits between the three buildings, and approach from the back…
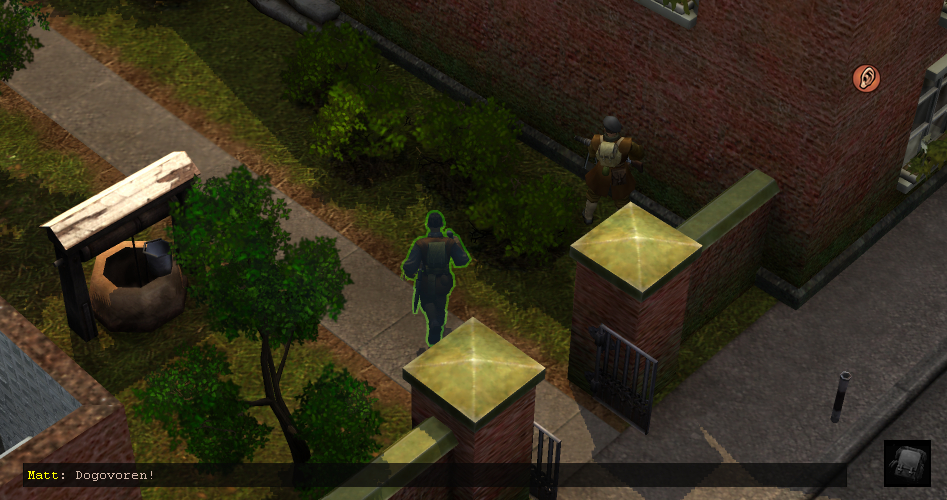
…while Viper and Bogey climb onto the nearby wall to do some sniping. Sook acts as spotter for them.
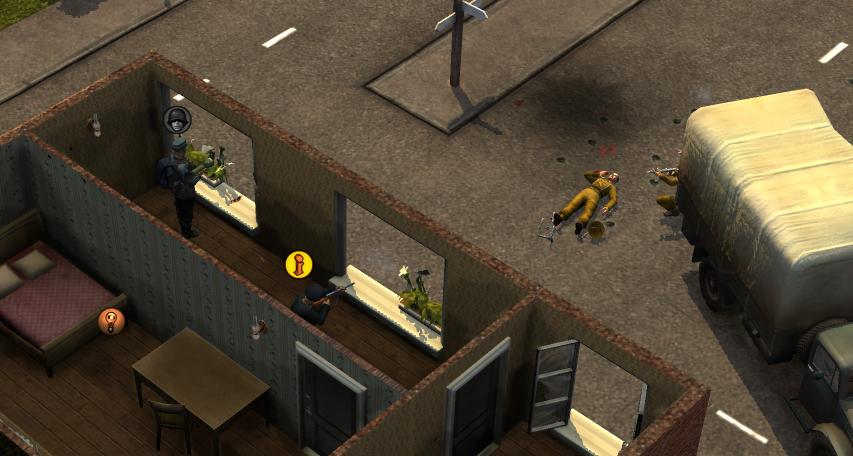
The majority of the Allied soldiers are dead before we can act. And once they’re out of the way, the Germans come directly at us.
And immediately after that:

Bogey decides they’re trying to escape. How he knows is unclear — but next round, sure enough, the last remaining British soldiers spot the Nazi leader making a getaway.
He exits the northmost building we saw him in earlier, rounds the corner, and disappears from sight, heading southwest. Our closest guy is Matt, and he takes off running to intercept them.
(The head German is somewhere just offscreen to the north.)
Doug follows close behind, while Gator’s firepower is needed to help Bogey and Viper hold off the other squad of Germans. They seem to be acting as a distraction while their leader gets away.
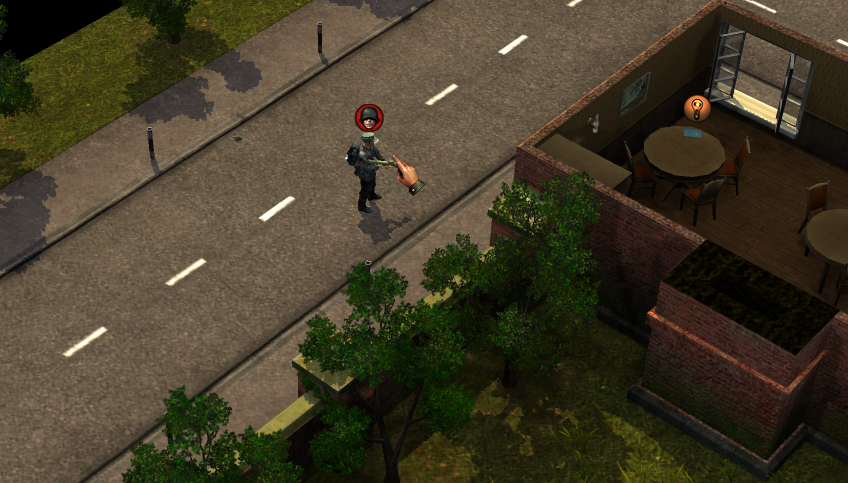
Matt, in the meantime, has reached the far gate and come to the road the German officer was escaping by. No sign of him, though.
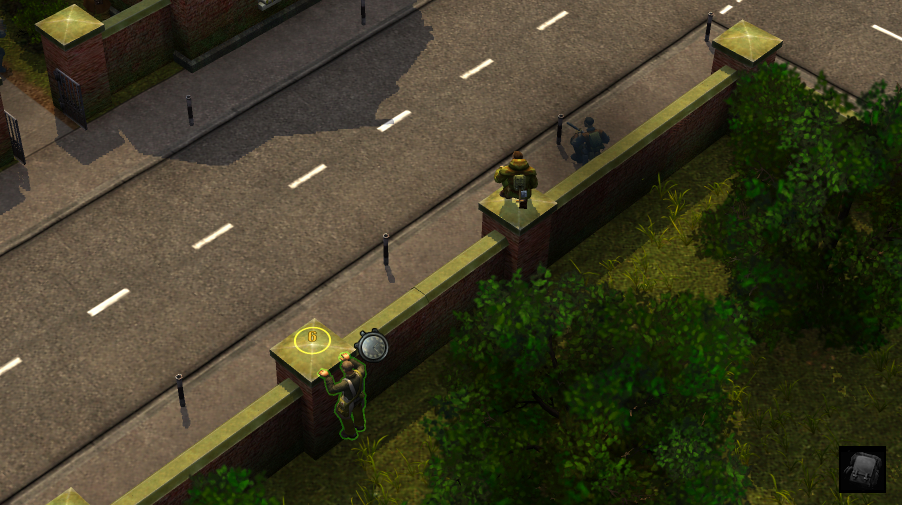
When Doug trots up behind, we send him up onto the wall to take a look.
All he can see is the rocket launcher-toting soldier, who seems to have pulled out along with the officer.
Still pretty far away, though. They haven’t made much progress on that “getting away” thing they were doing.
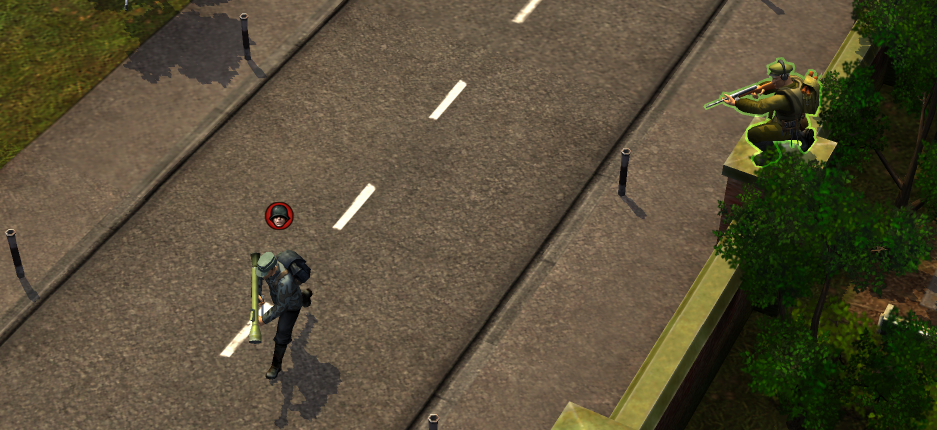
Doug hops back down off the wall to sit and wait for them to come to us. On the next turn, the rocket launcher guy takes off. Matt pegs him with a couple thrown weapons as he passes by the gate, and then Doug jumps the wall again and finishes him off.
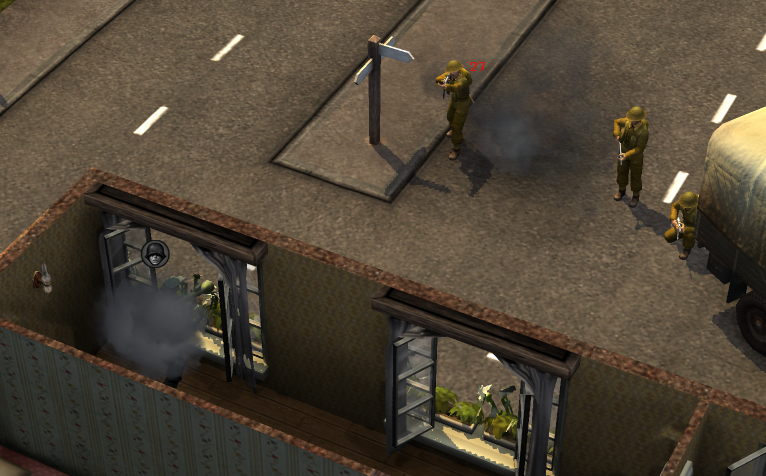
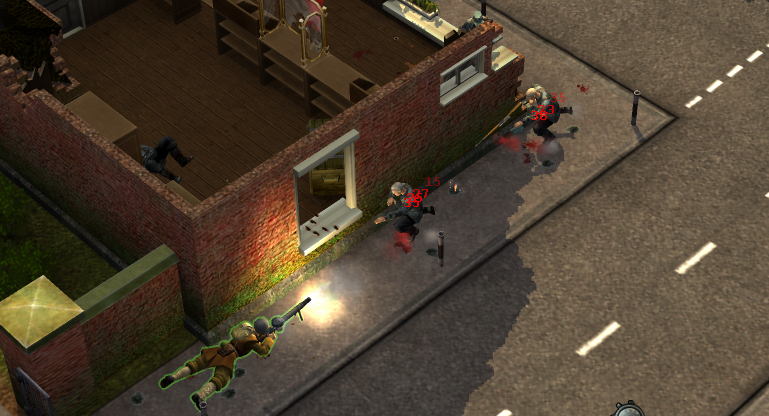
That’s when Viper appears at the other end of the street. He and two surviving British soldiers, having cleaned up the rest of the Germans, swing around to the north and open fire on the officer and two bodyguards who’ve stayed with him, driving them south.
(I’ve rotated the camera a bit to better show the action.)
The officer bolts, away from the protection of his guards, and directly into a storm of knives and other bladed weapons.
And then, as he is wont to do, Bogey busts in once all the danger has passed and claims the last moment of glory for himself — by taking out the final German.
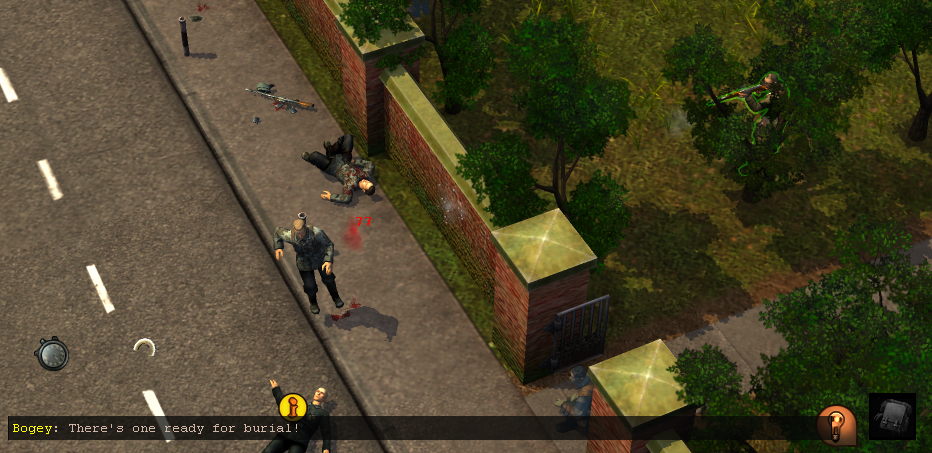
Though I’ll admit that straight-through-a-brick-wall headshot was pretty hype.
Afterward, we locate the documents in one of the now-empty buildings, and then gather back in the street as Matt picks up all his gear.
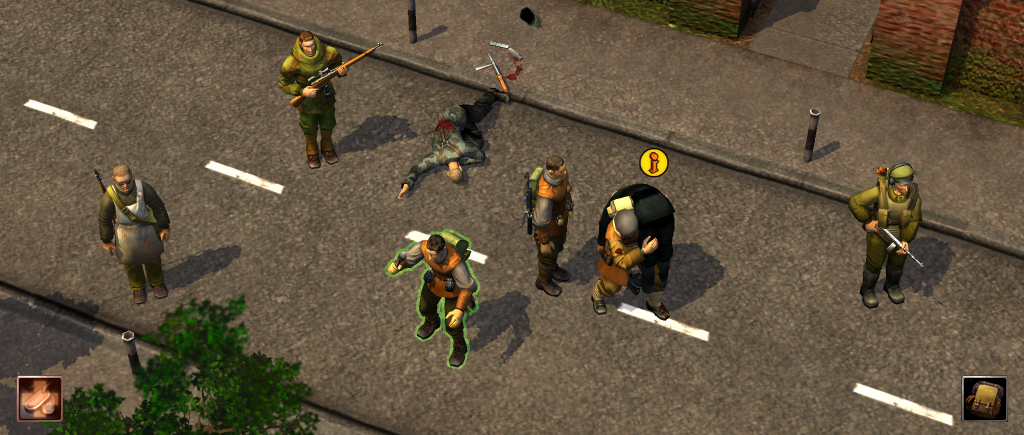
Ya did good, kiddo.
T-thank you. I tried my best.
Well, yer best is bestier than… most. I’m looking at you, boss.
What?! Did you see that last shot I made? Talk about getting bricked!
…Like I said…
On to the next episode!
— or return to the Table of Contents