To celebrate the 45th edition of this column, my plan was to take a look at some episode replacements I’ve always meant to play but never got around to. I’d heard good things about all of them (and in most cases, I’d enjoyed their creators’ other work), so I expected to play some pretty good maps…
Instead, I played four of the most amazing episodes I’ve touched in years. I know I said just a few days ago that Mapgame was possibly my favorite ever Doom episode, but all four of these are in the running for that title now — and all for different reasons. Every one of the following episodes approaches Doom from a completely different (and completely awesome) direction, making this an absolute smorgasbord where you’d be hard-pressed to not find something that appeals to you personally.
The original hope here was to end up with a four-episode collection that you could (if you were so inclined) play as a complete Doom 1 megaWAD. Sadly, Episode 4 replacements are few and far between, and so instead I decided to double up on Episode 1s. That means you can’t load these all up at once and play them as if they were one mapset… but you can still play them sequentially anyway. With that in mind, I’ve listed them below in the order I think they’re best played in, but obviously you can tackle them in any order you choose!
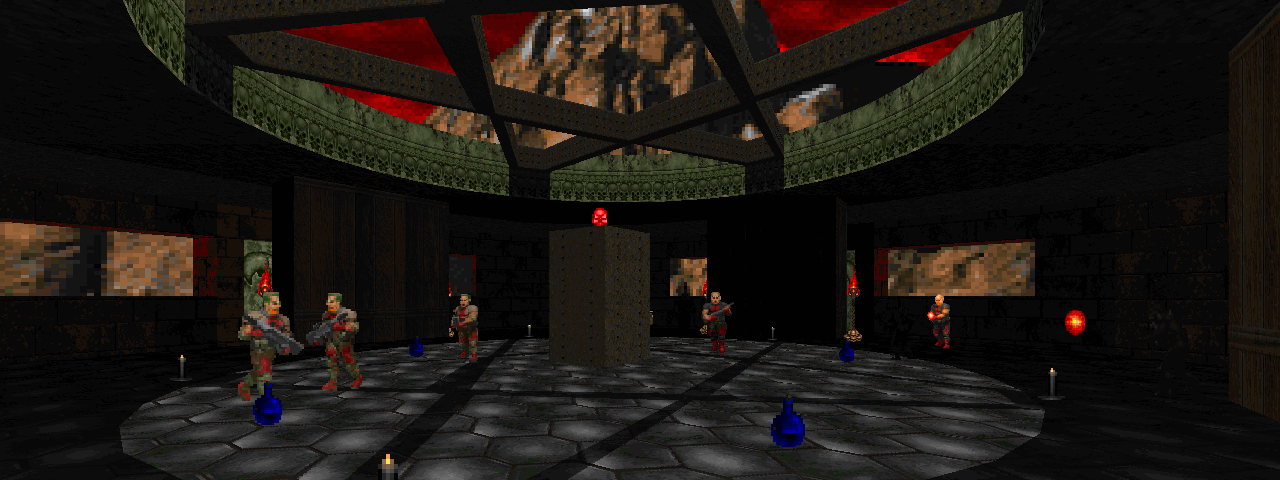
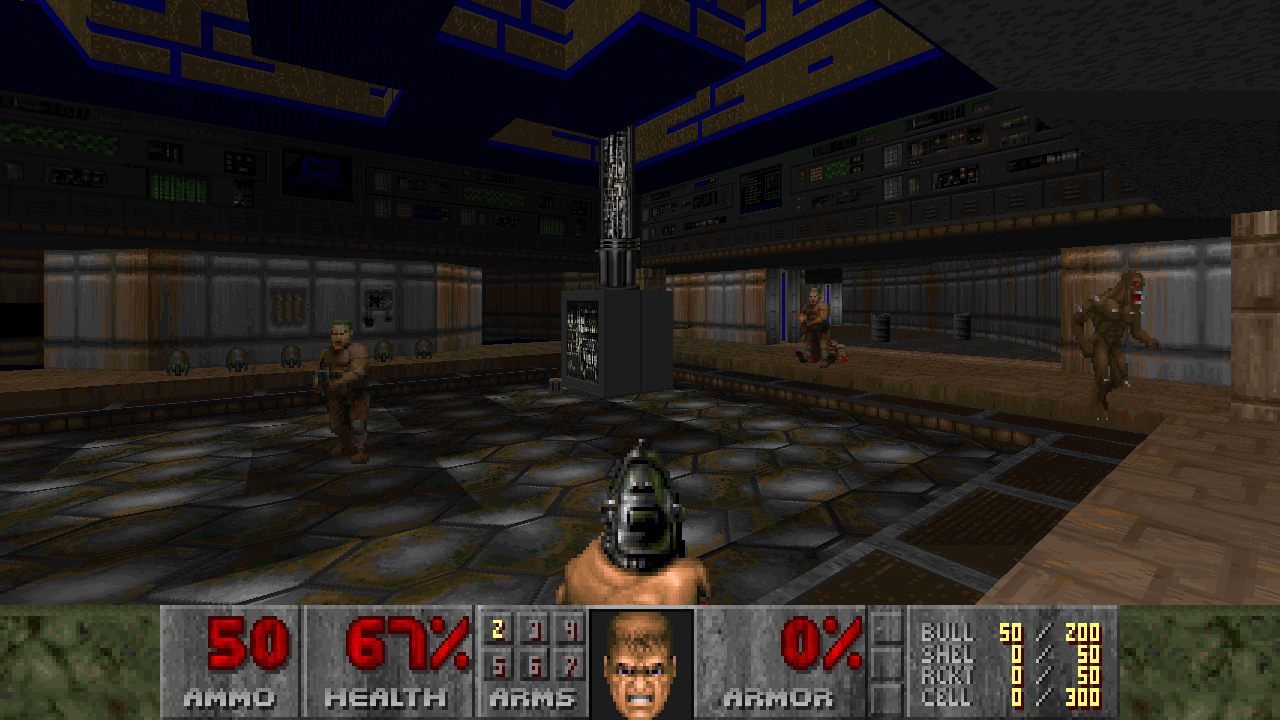
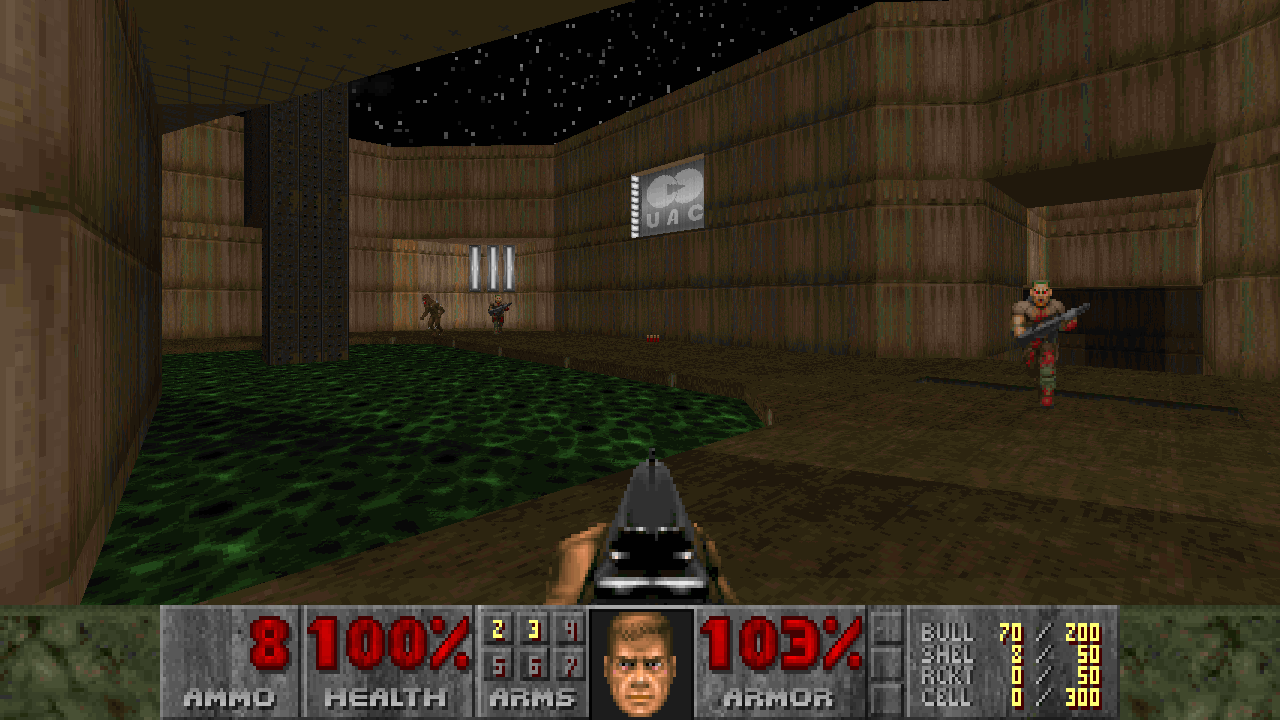
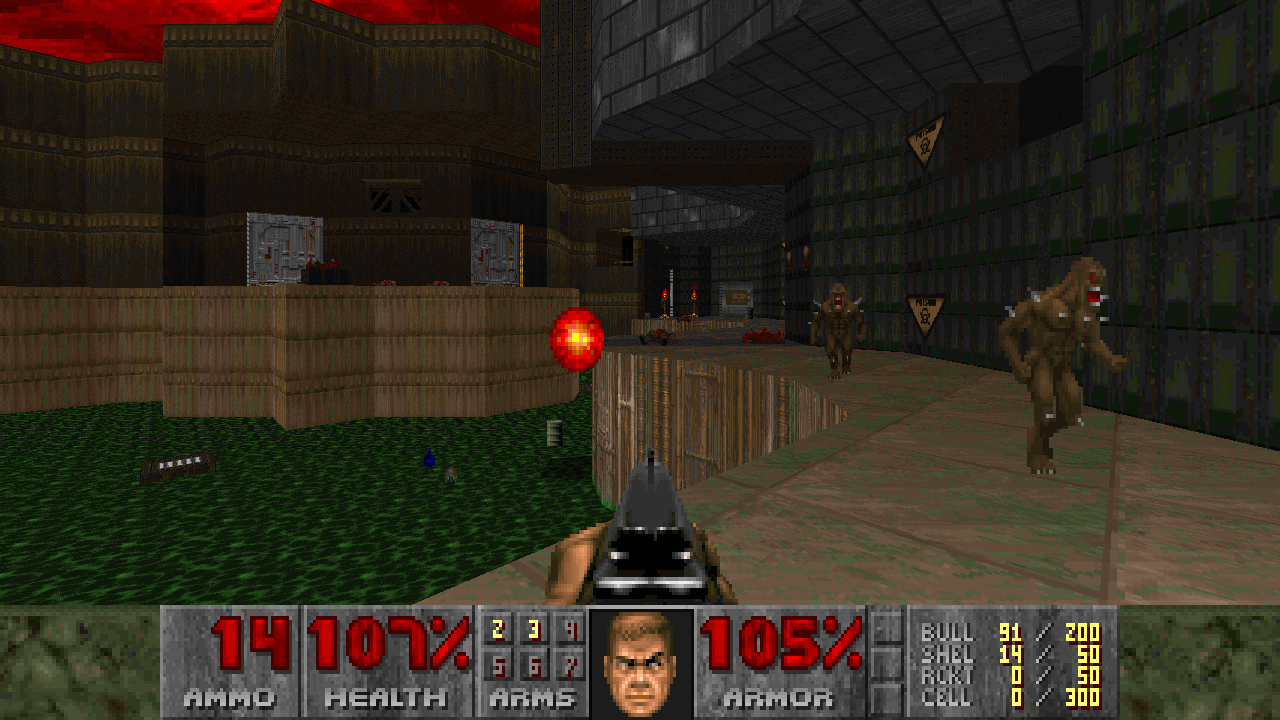
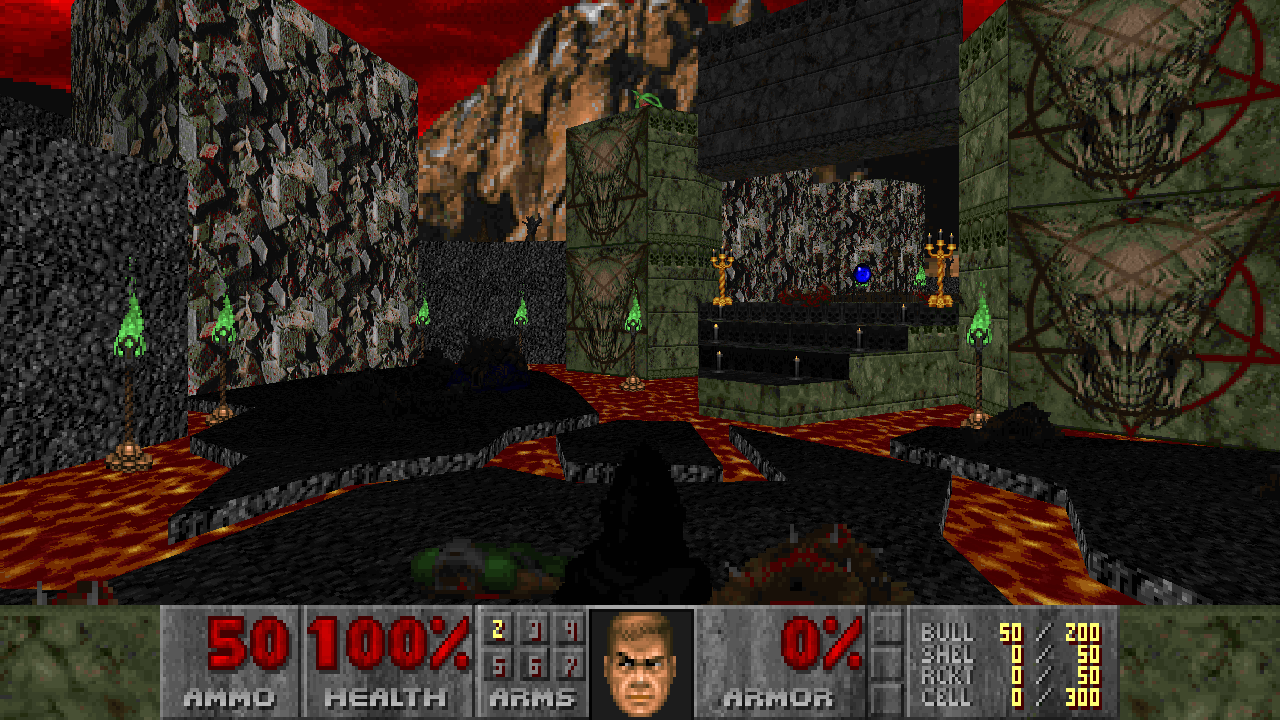
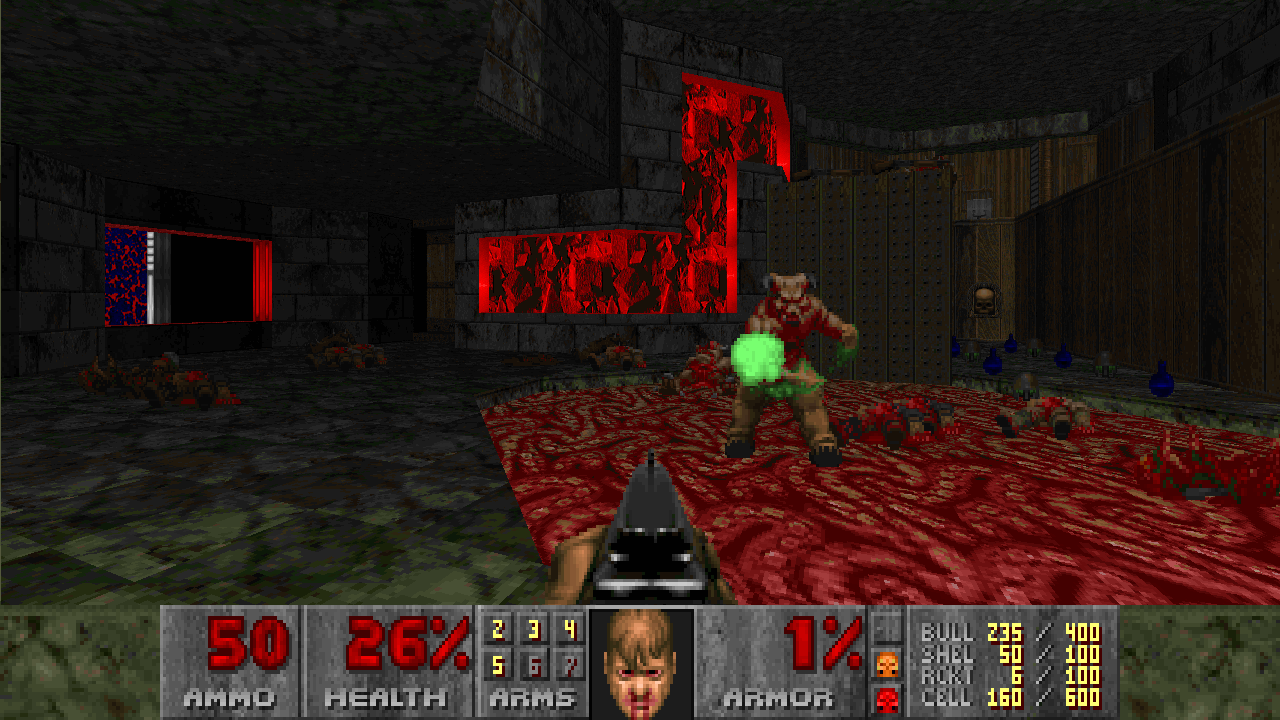
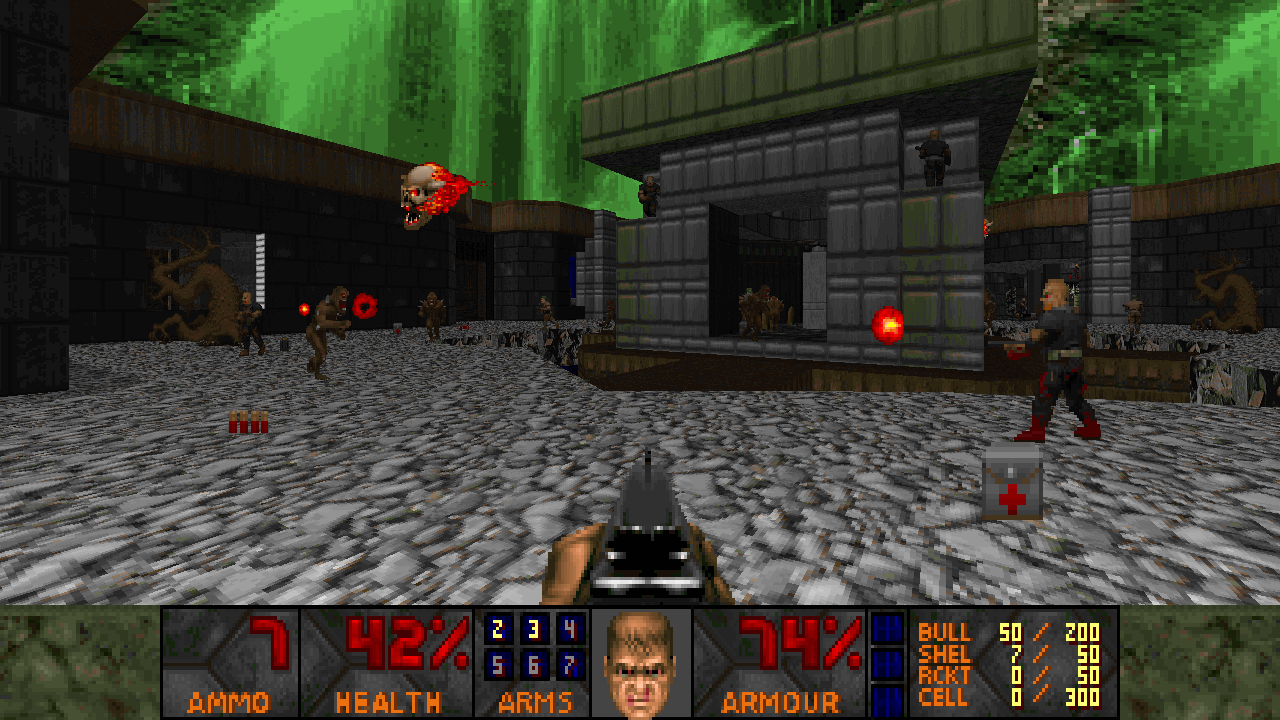
Double Impact by RottKing and Ralphis
Double Impact is your perfect first episode. It starts things off simple and easy enough, focusing more on exploratory gameplay and incidental combat. Of the episodes here, this is the most faithful to Doom’s original style — in this case faithful to Romero’s tried and true Phobos design. We’re talking classic E1 stuff, bolstered by a touch of hellish influence later on (and in the secret map, which you’re very likely to find before the regular exit to M3).
In a lot of ways, Double Impact feels like it could have been part of a Doom The Way id Did. It’s got that E1 spark: the nonsensical yet believable sense of place, the interconnected and clever layouts, the variation of shapes and sizes and light levels. Only it’s all a bit more grand — and a lot more dangerous. Plus the two remixed midis in E1M2 and E1M8 add spectacularly to the feeling of a parallel universe Knee-Deep in the Dead — just bigger and better.
I have to give special mention to the level of detail RottKing and Ralphis’ put into their ceilings, while they leave the floors flat and simple so that the firefights can play out unobstructed. And their tendency to use large, barren spaces to emphasize the more tense, cramped fights. But most of all, I love Double Impact’s wonderfully unpredictable and strange layouts. You never know exactly how one area will lead to the next, or how a path will fold back in on itself, but it always feels right and is never confusing. Nothing really has any rhyme or reason to it, but it feels like a real place anyhow.
A quick disclaimer: the final map requires some special compatibility settings and may not work correctly in your source port of choice. Fair warning.

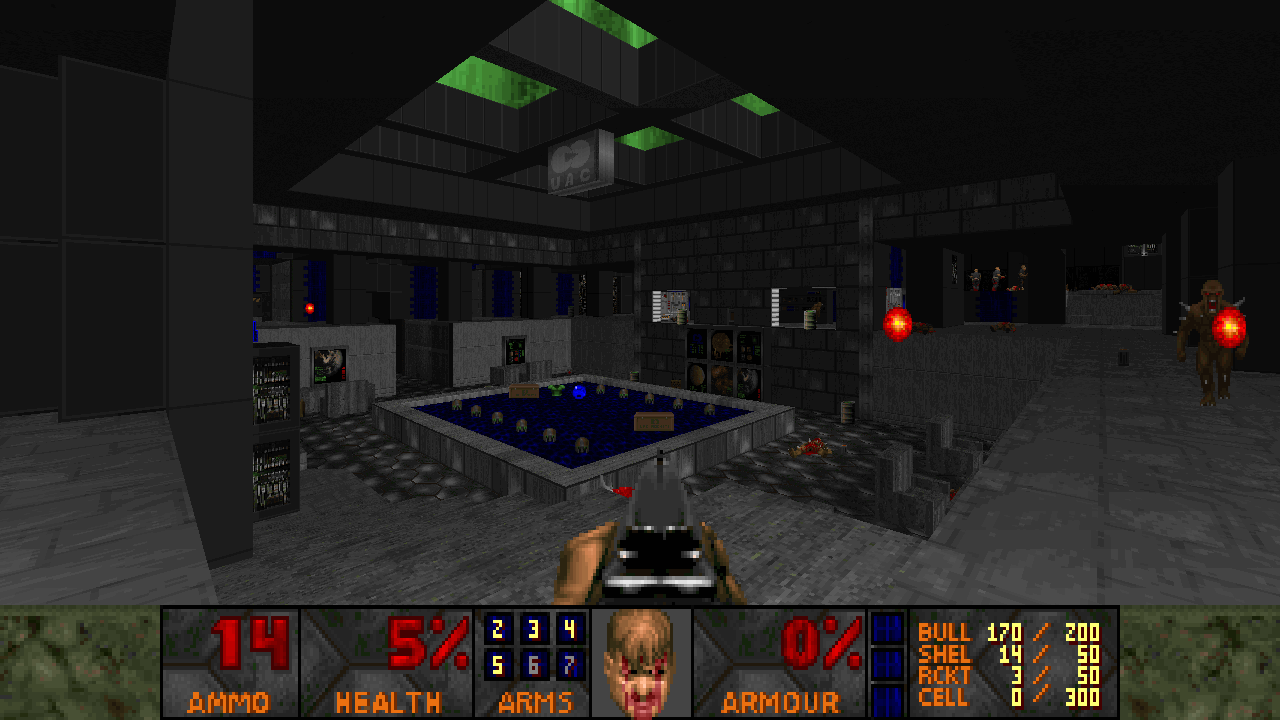
The Becoming by Jay X Townsend
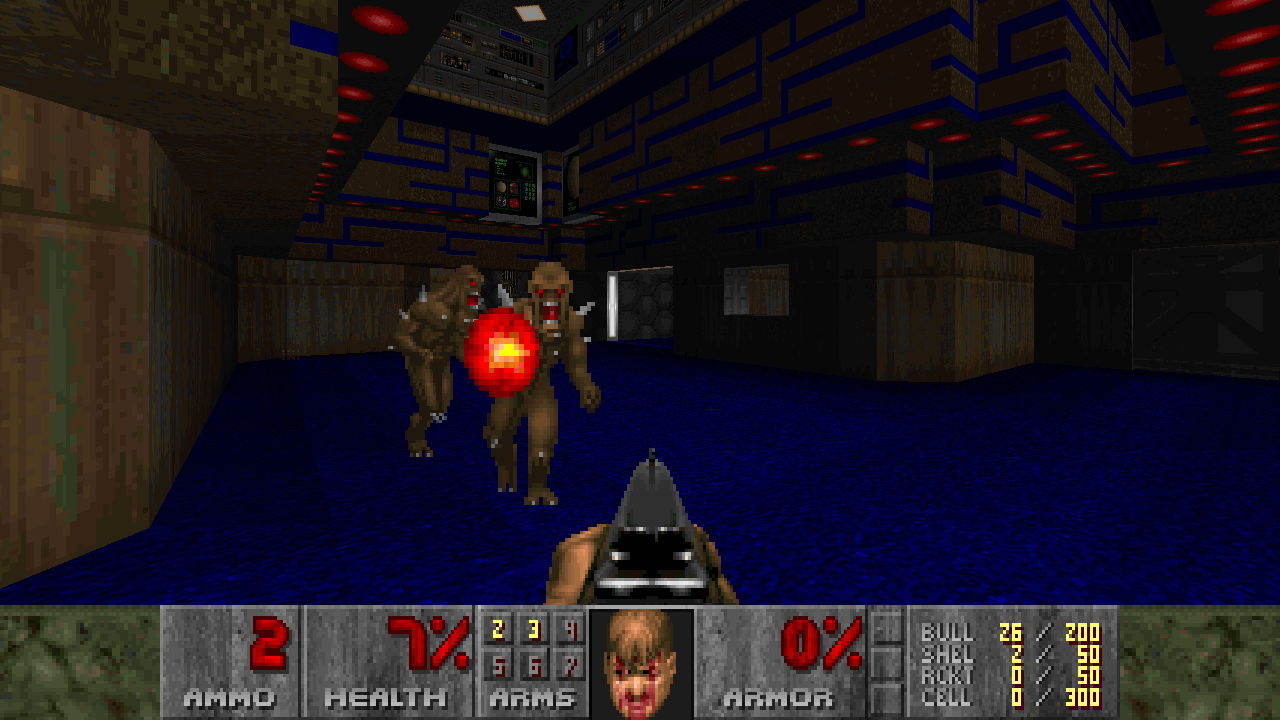
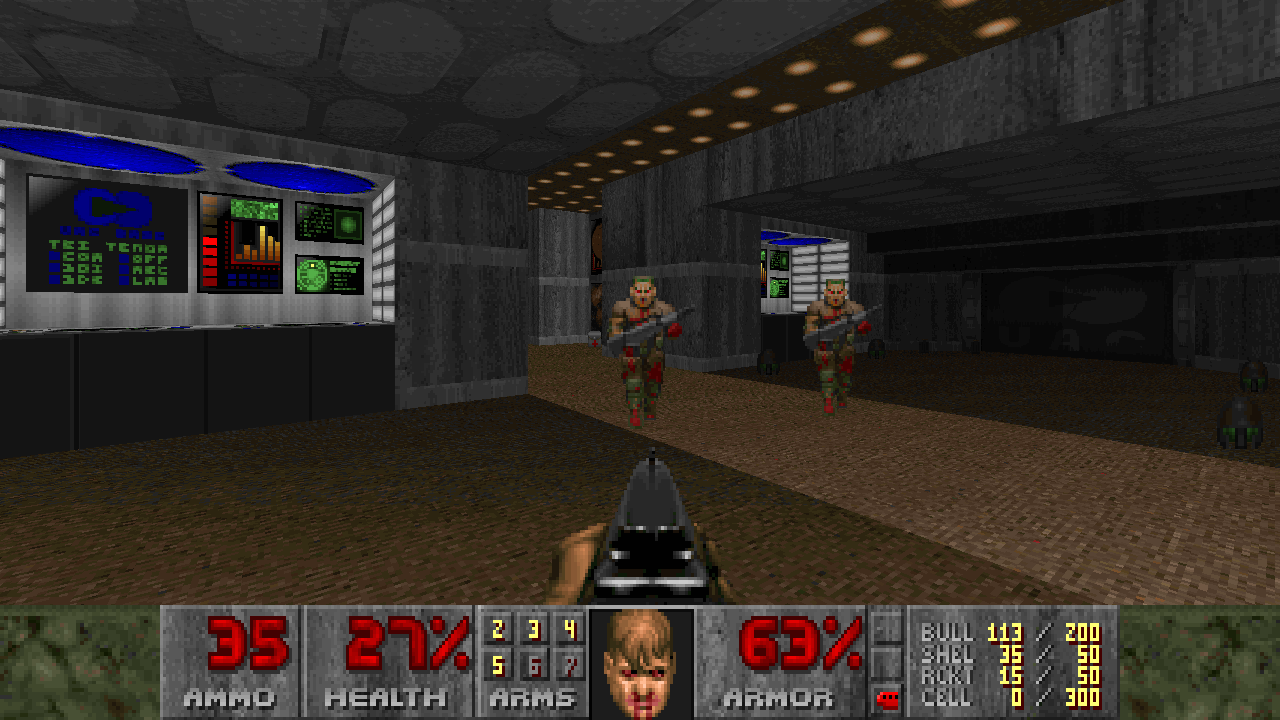
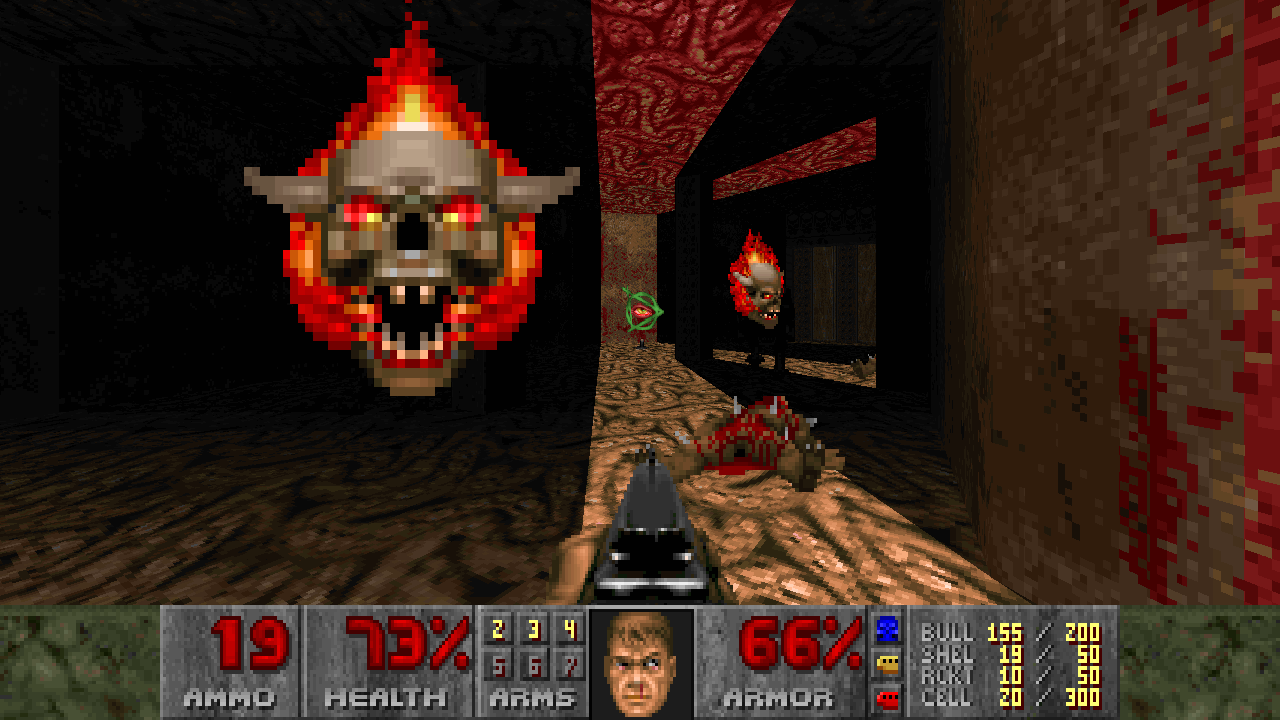
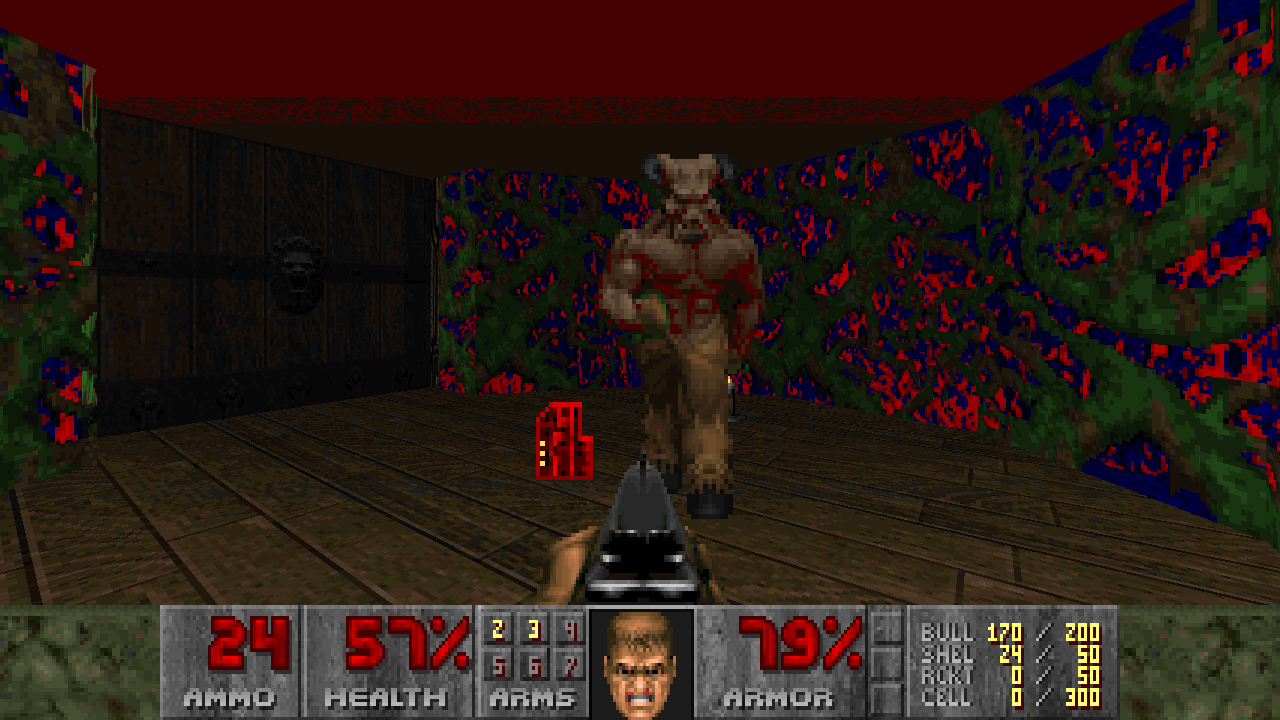
It’s about time we talked about Jayextee again, isn’t it? Jay is a mapper after my own heart, and their lightly gimmick-flavored episode The Becoming is a welcome change of pace among some more conventional WADs on this playlist.
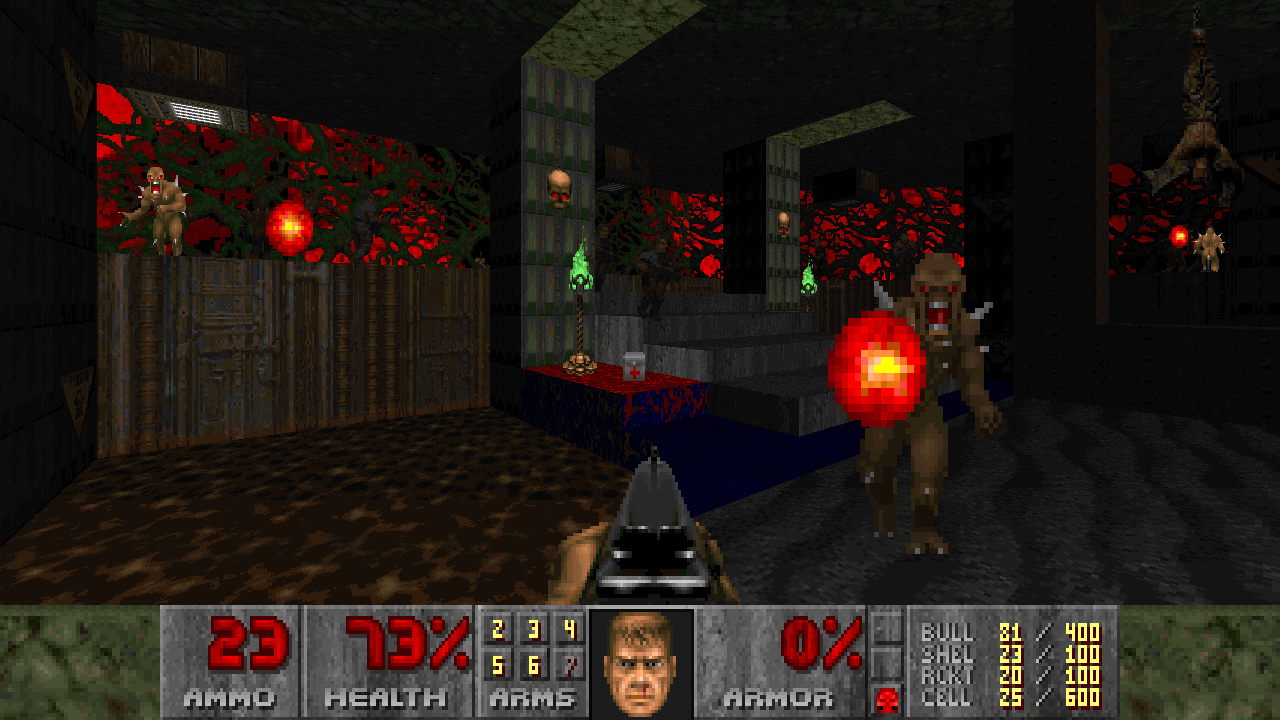
The Becoming is our Episode 2, shifting gears from the familiar Phobos climate to something closer to the smoldering heat of Deimos (and in the latter half of the episode, Hell itself). It also represents a shift in gameplay, from fairly traditional Romero-inspired stuff to something a little off skew. You might not notice Jay’s concept-y leanings in the first couple maps, but by M3 it’ll become clearer what kind of WAD this is. Only three maps are truly what I’d call gimmick maps — M3, M4, and M8 — but the whole affair is steeped in the gimmick juice. And where the concepts take center stage, the results are invariably compelling.
There’s also some extremely interesting stuff going on with atmosphere-building here. The most obvious is the slow buildup in M3, but a ton of smaller-scale touches really sell the creepy, decrepit setting. From rain-stained windows to active Hell-flesh incursions, Doom rarely has atmosphere this well-realized.
PS: Before you send your angry comments — yes, the cyberdemon fight in M8 is possible to beat. And yes I did actually manage it. There is no more difficult cyberdemon you’ll ever face, but gosh dang does it feel good to see that sucker blow at the end.
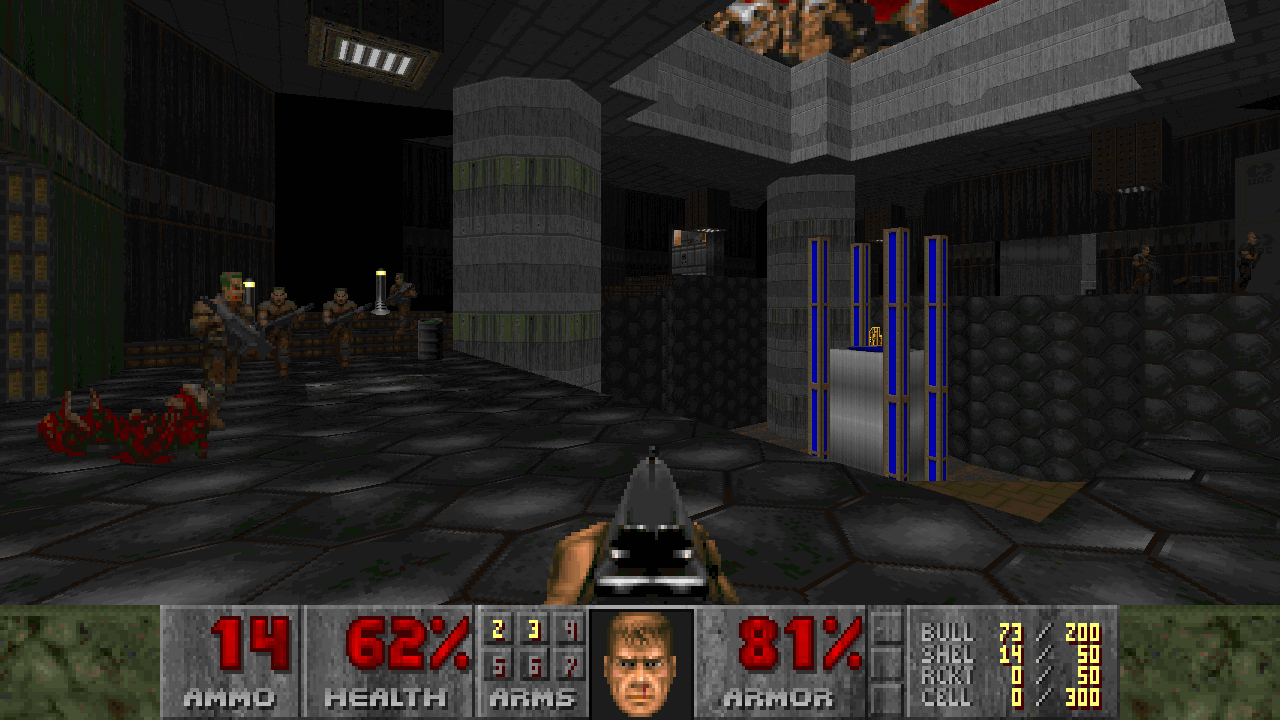

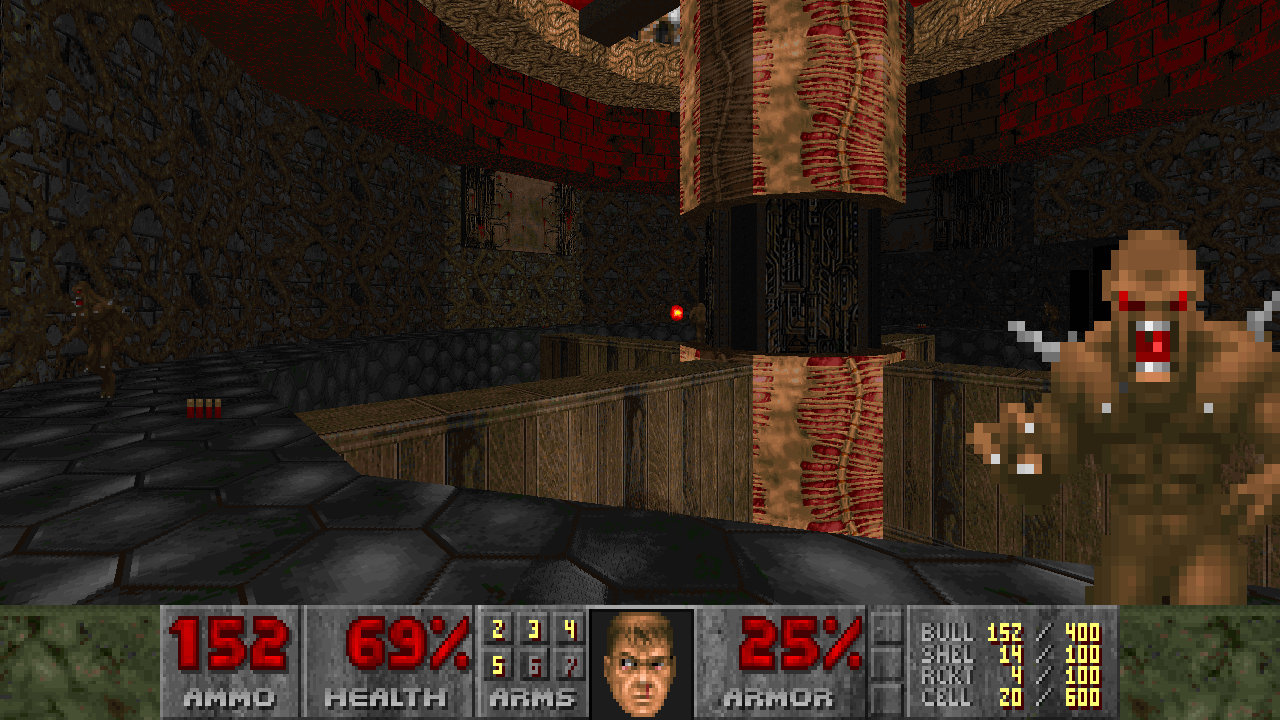
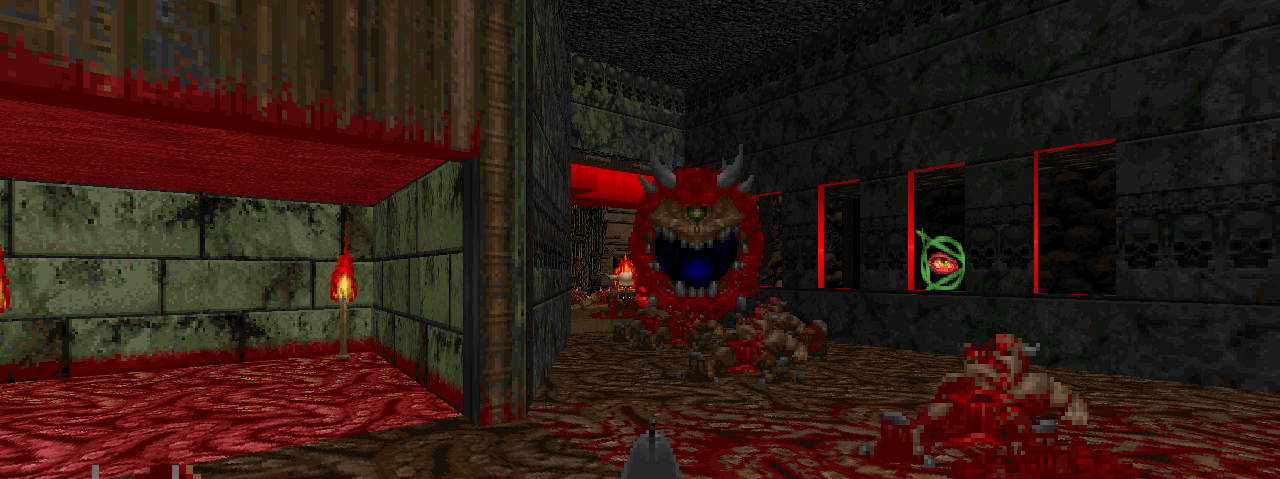
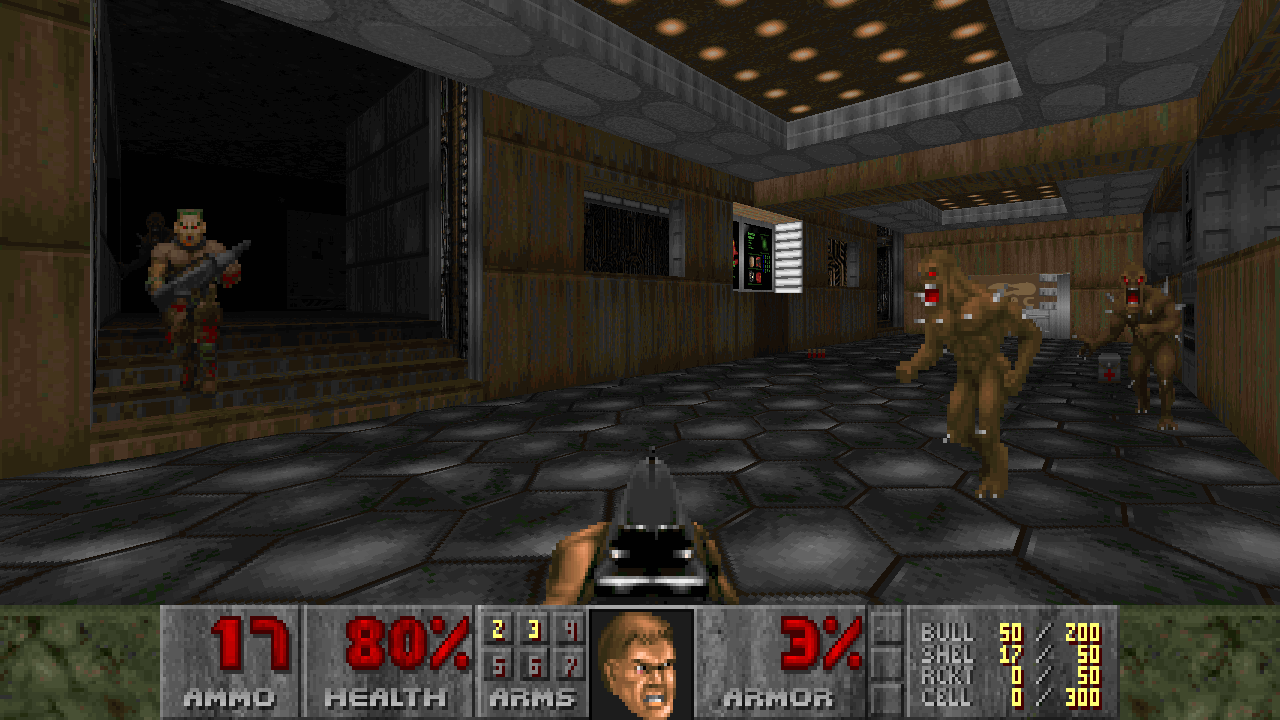
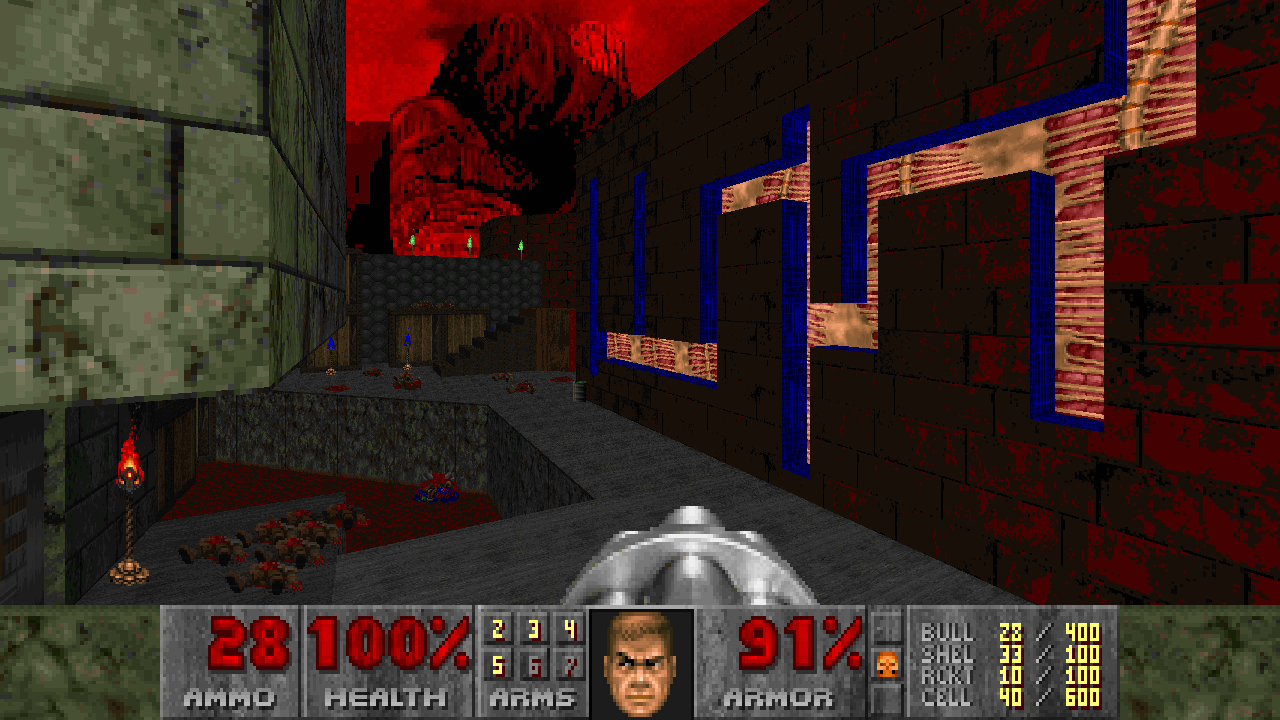
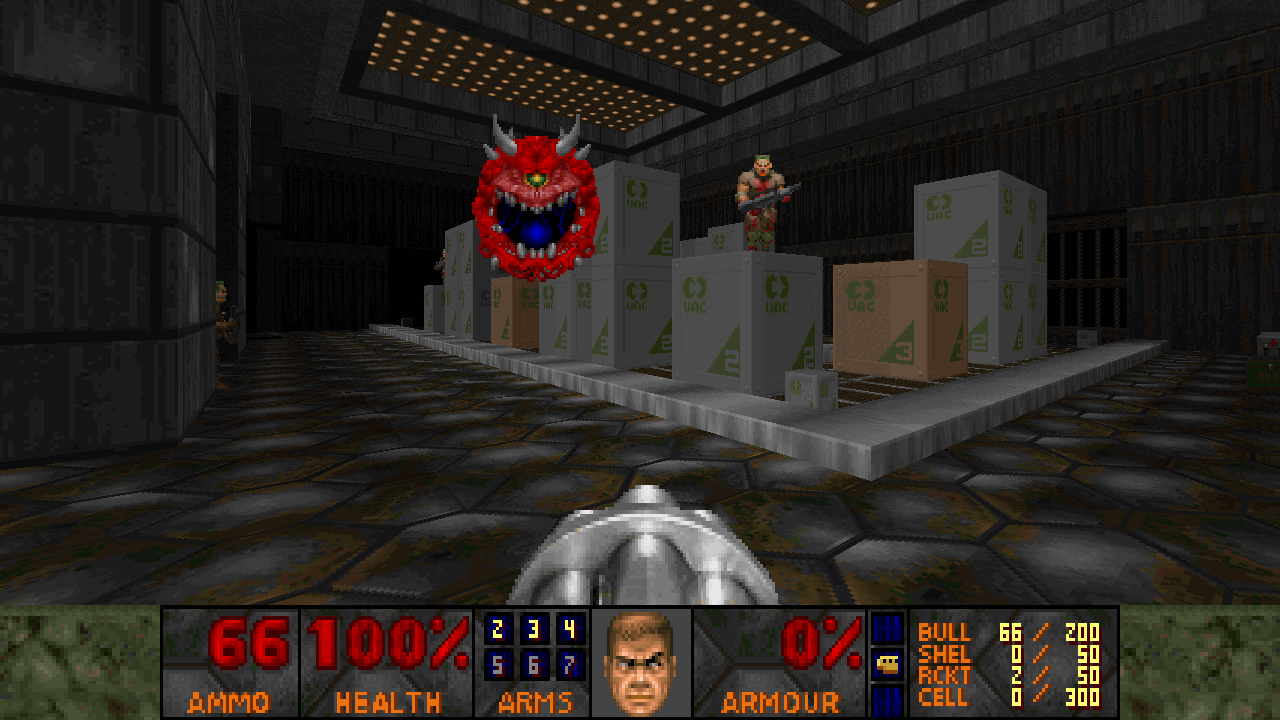
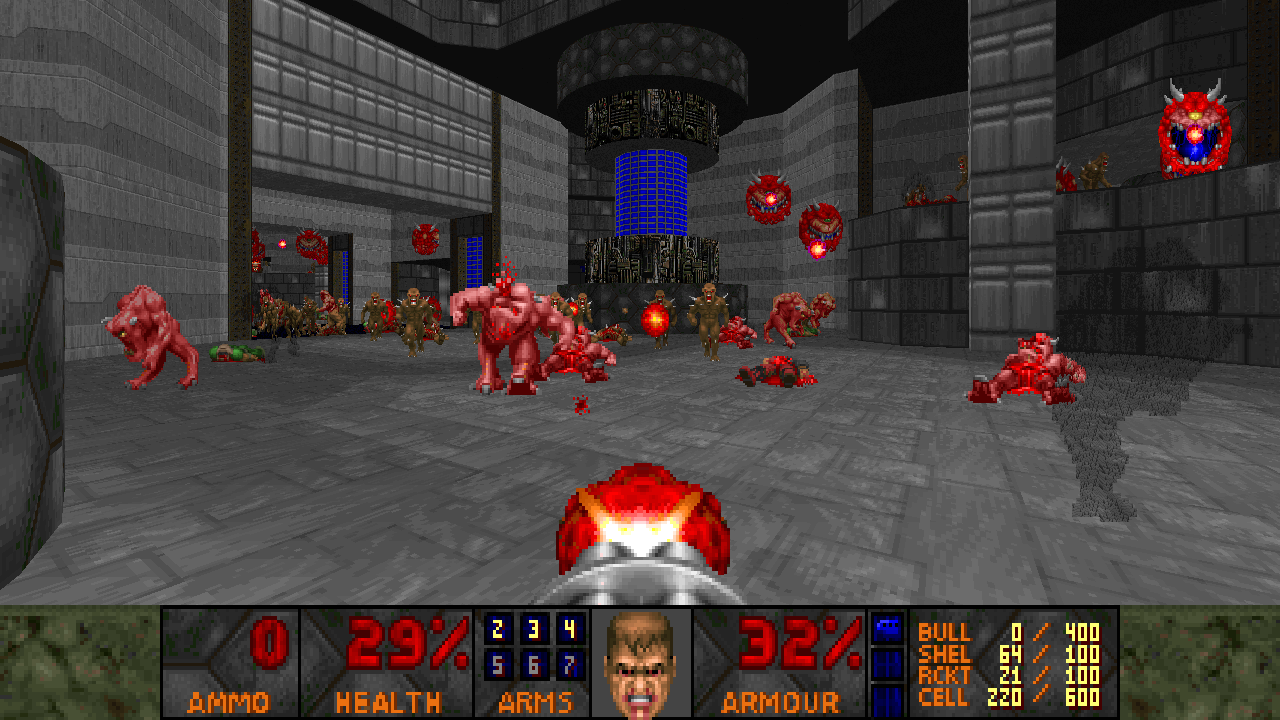
Incineration by Paul Corfiatis
Episode 3 is the time to get weird, and Incineration brings the weirdness.
Paul Corfiatis is a super prolific mapper, but the only other one of his mapsets I’ve actually played is 2002: A Doom Odyssey. I may need to change that fact… because his E3 WAD Incineration is so good I can’t even find the words to describe it. I can only say it’s chaos — in every sense of the word.
There’s chaos in the layout of the maps: teleports and false walls, doors that aren’t really doors, critical paths hidden in tiny out-of-the-way alcoves, item pickups scattered around the floor at complete random.
There’s chaos in the monster placement: traps and monster closets around ever corner, and a constant stream of new demons drip-fed into the maps from some mysterious location — so that absolutely no place is ever safe.
There’s chaos right down to the texturing: bright red window cutouts from a drab green wall, glowing blue circuitry abutting red Hell bricks, no attention given to matching materials on what should just be two sides of the same object. Or my personal favorite moment in the history of Doom WADs: when Paul Corfiatis plasters the green vine texture over top of the animated red and blue fire texture — and then makes the entire thing glow. It’s so garish and awful to look at… and I love it more than life itself.
Oh, it plays pretty good too.
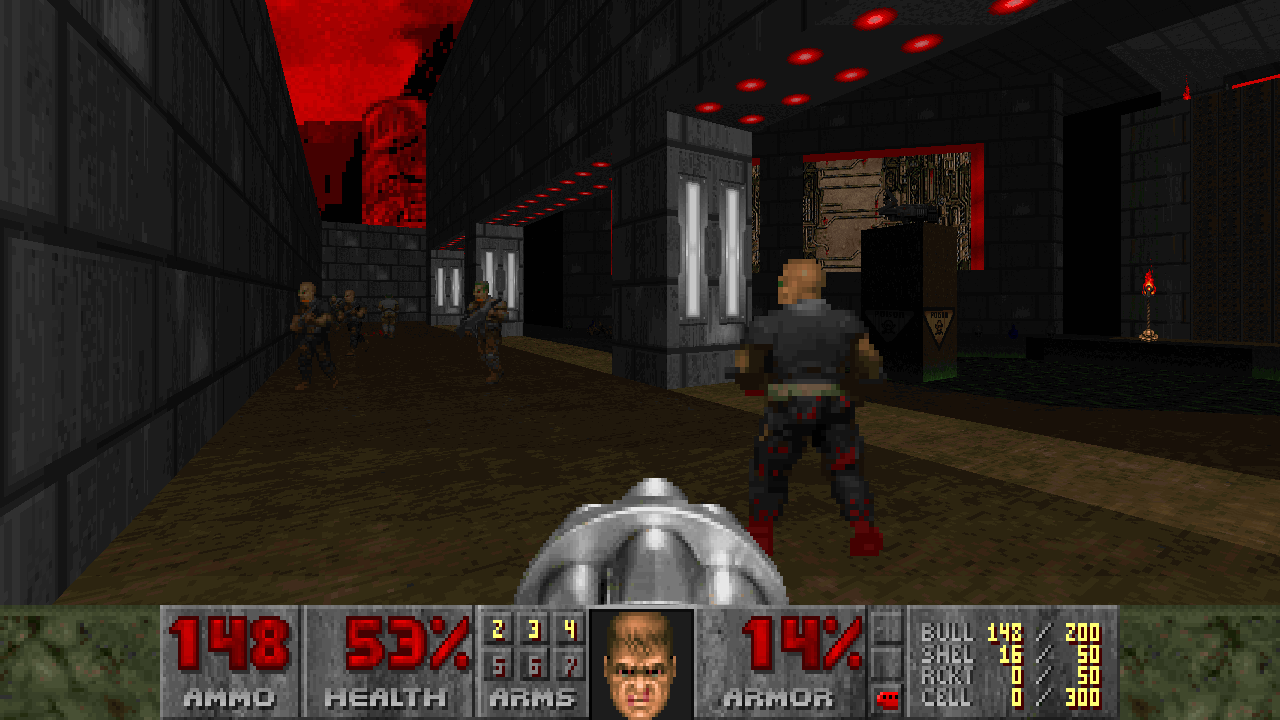

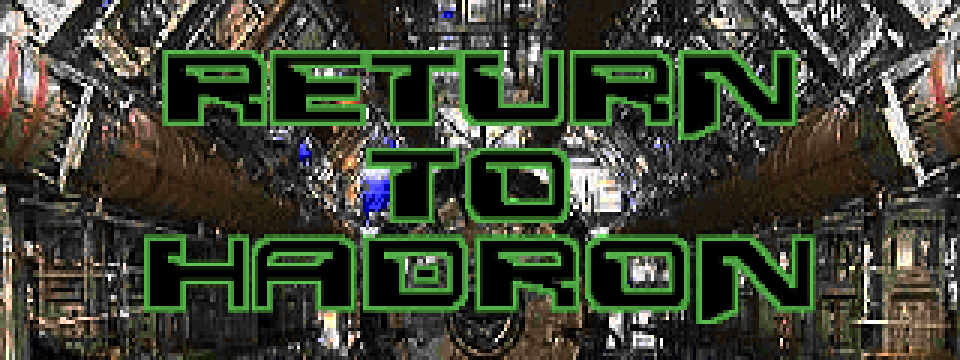
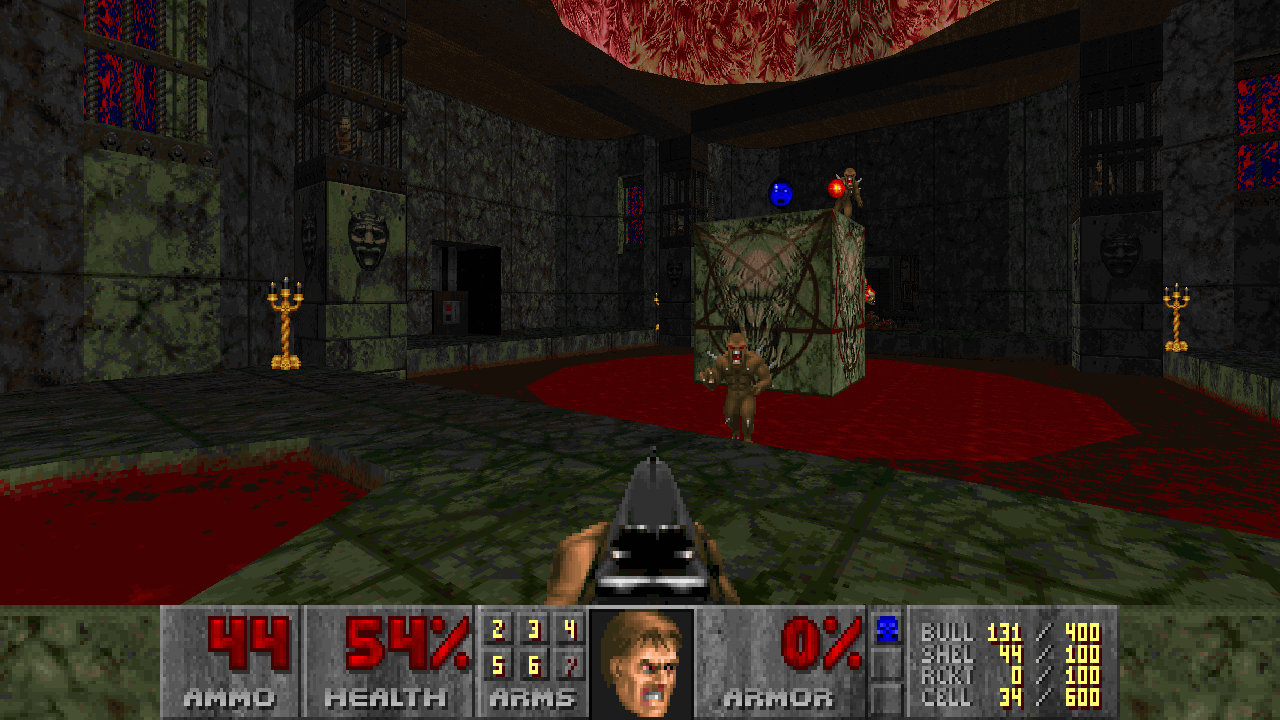
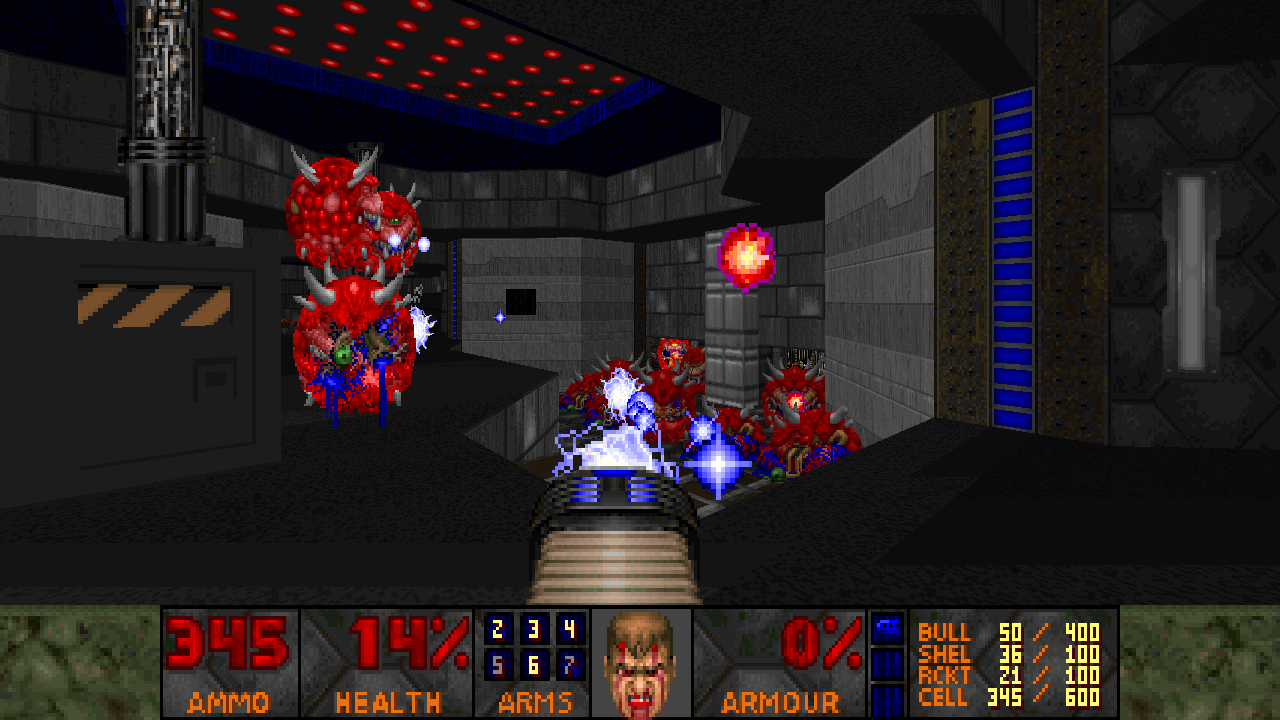
Return to Hadron by Matt “cannonball” Powell
Future scwiba’s Note: There are a total of three episodes of Return to Hadron. At the time of writing, I was not aware of the second episode and the third had not been released, so this review is limited to Return to Hadron Episode 1 only.
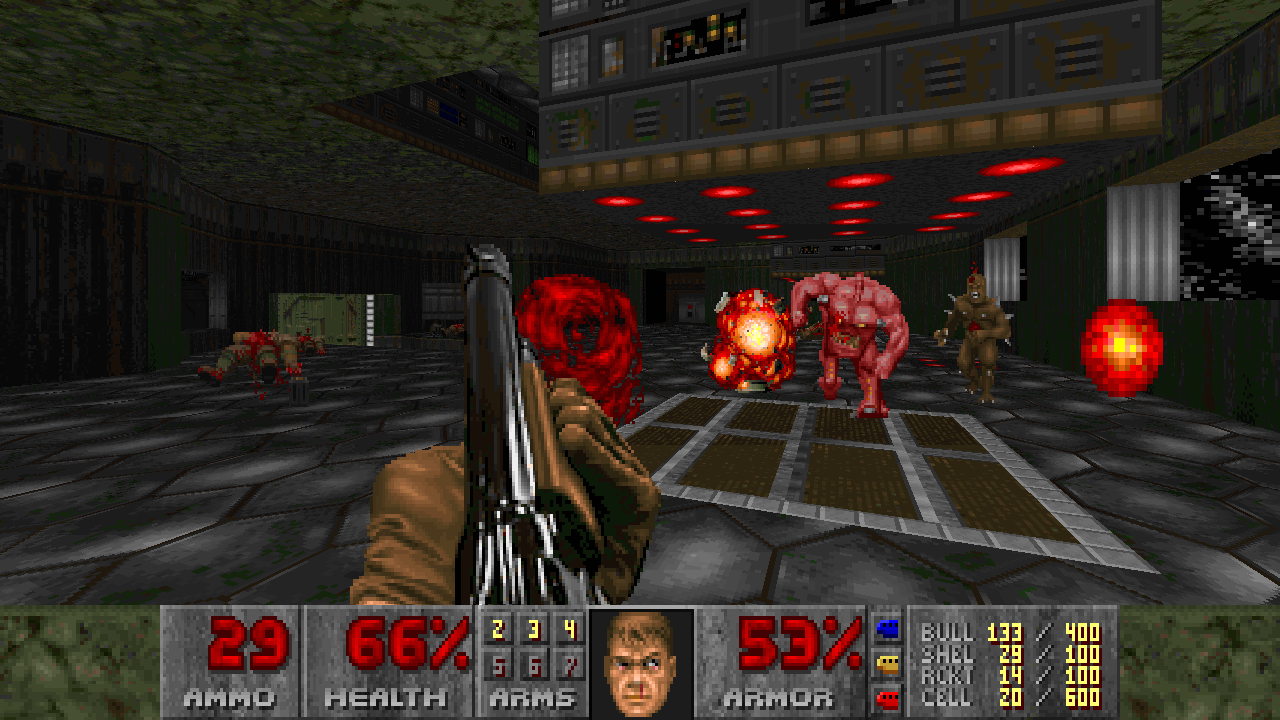
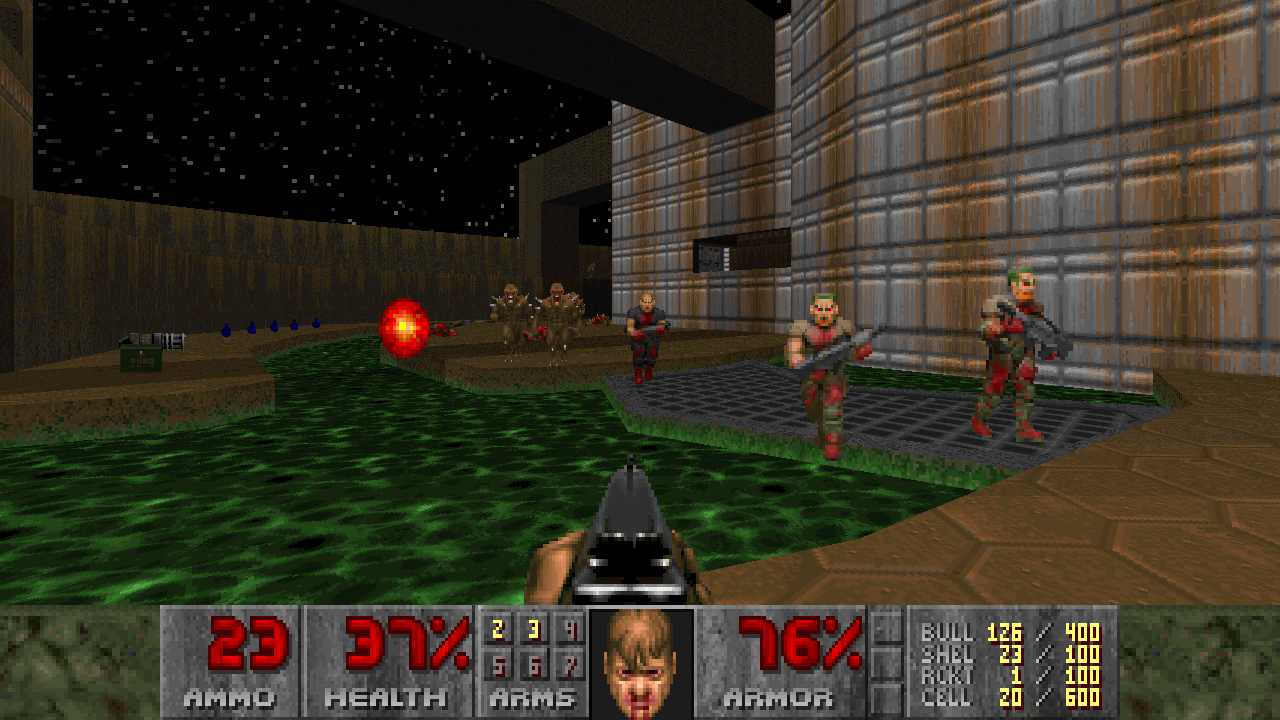
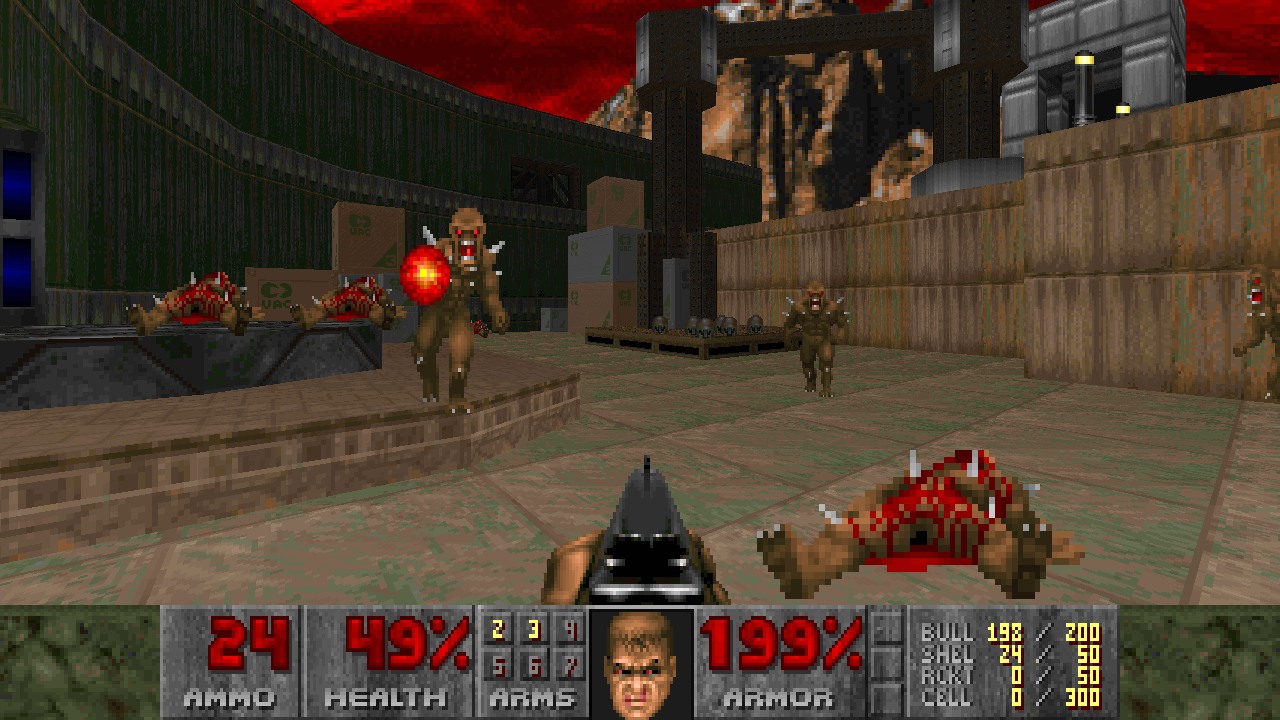
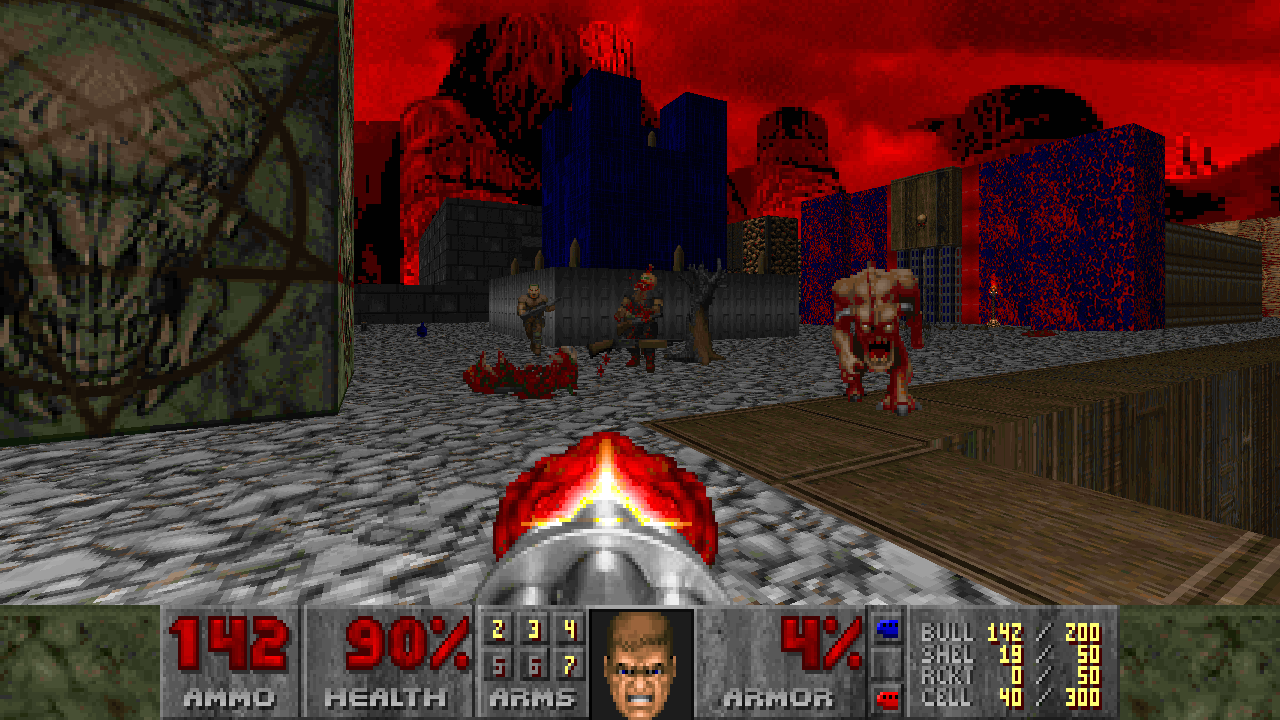
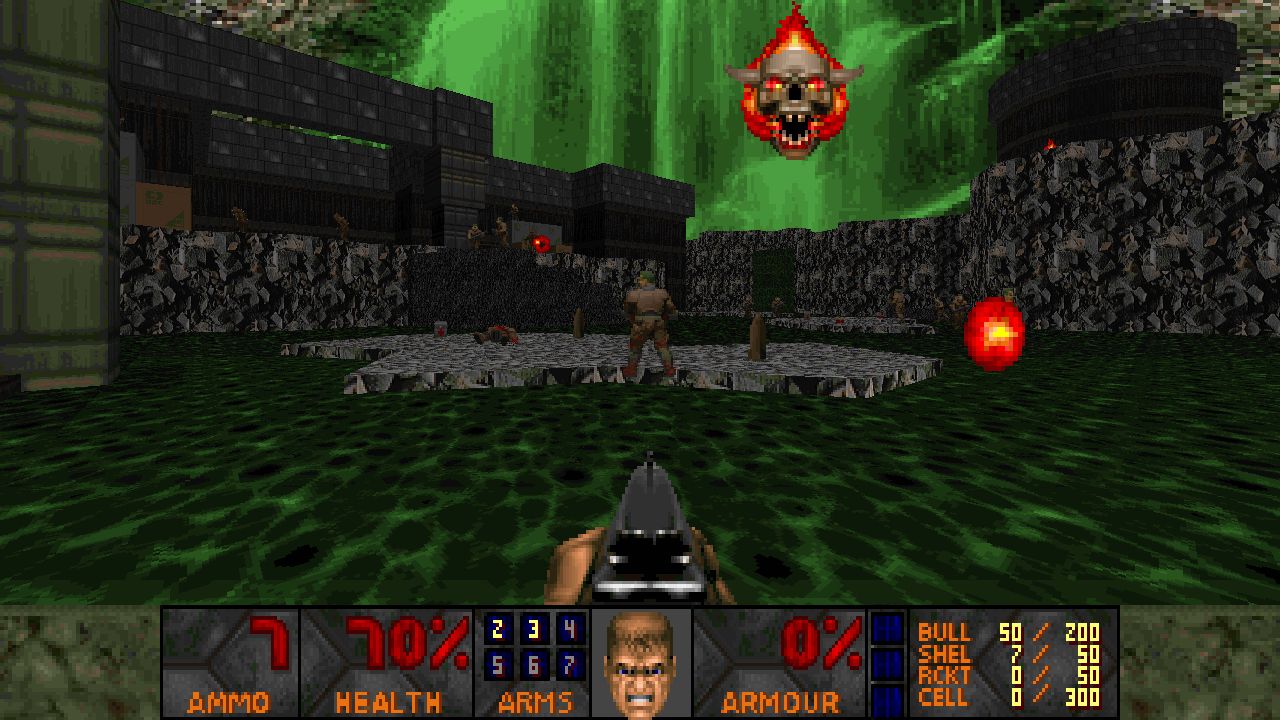
Let’s go out with a bang, shall we? While it’s technically another E1 replacement, I’m going to call Return to Hadron our Episode 4. What better way to end this improvised little megaWAD than with some merciless destruction?
We’ve come full-circle — to end our adventure where we began: knee-deep in the dead. Except this time the dead bodies you’re squelching through are cacodemon corpses. Lots of them. Return to Hadron is not your daddy’s Episode 1 replacement; it throws out most of the exploration from something like Double Impact in favor of big-ass battle setpieces. No wandering around or backtracking in this one — it’s just straight from one action bit to the next.
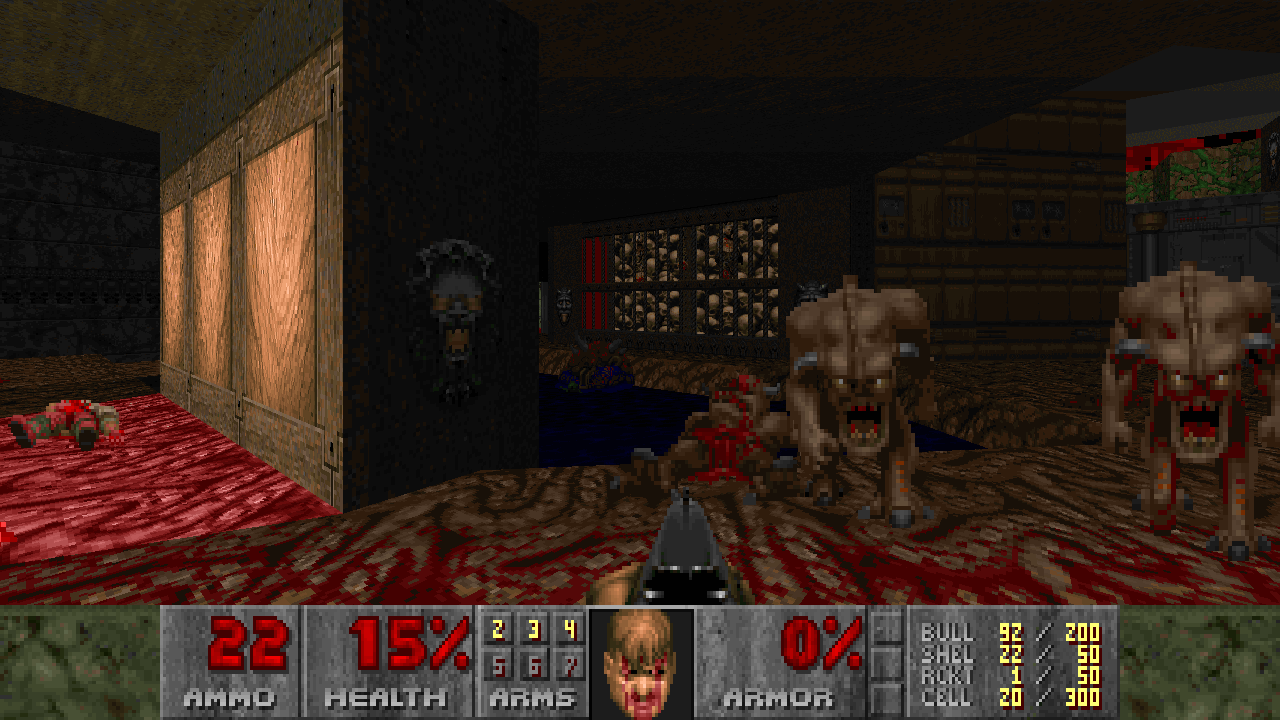
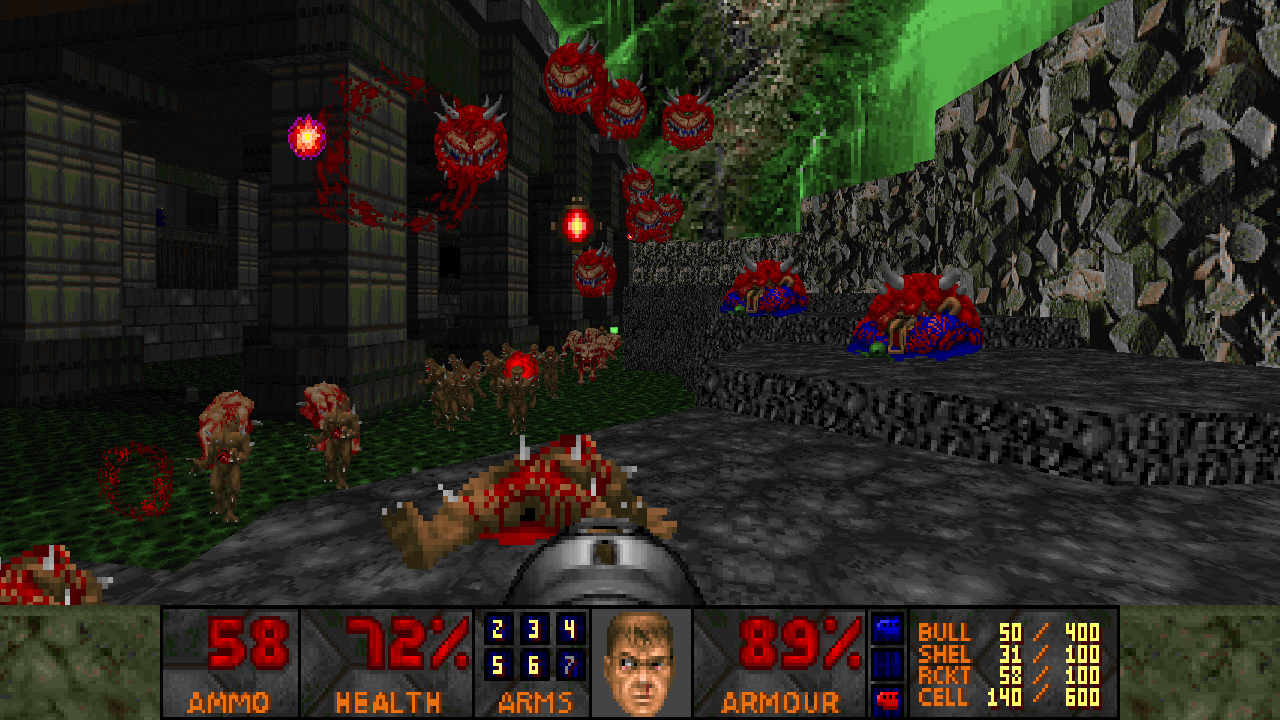
The maps here generally have a centralized, interconnected design, but instead of helping you discover new places, in this case the interconnectivity serves only to give you movement options during large-scale warfare. I think cannonball’s philosophy is best exemplified in the fourth map, Withered Garden, which has you on the run from a murderous horde the second the screen transition finishes, scrabbling for ammo and gear for a good few minutes before you’re ready to turn and fight for real. The map as a whole isn’t quite a single arena, but every area is connected to a central ring and has two or three separate points of entry. It’s fast, tight, and right up my alley.
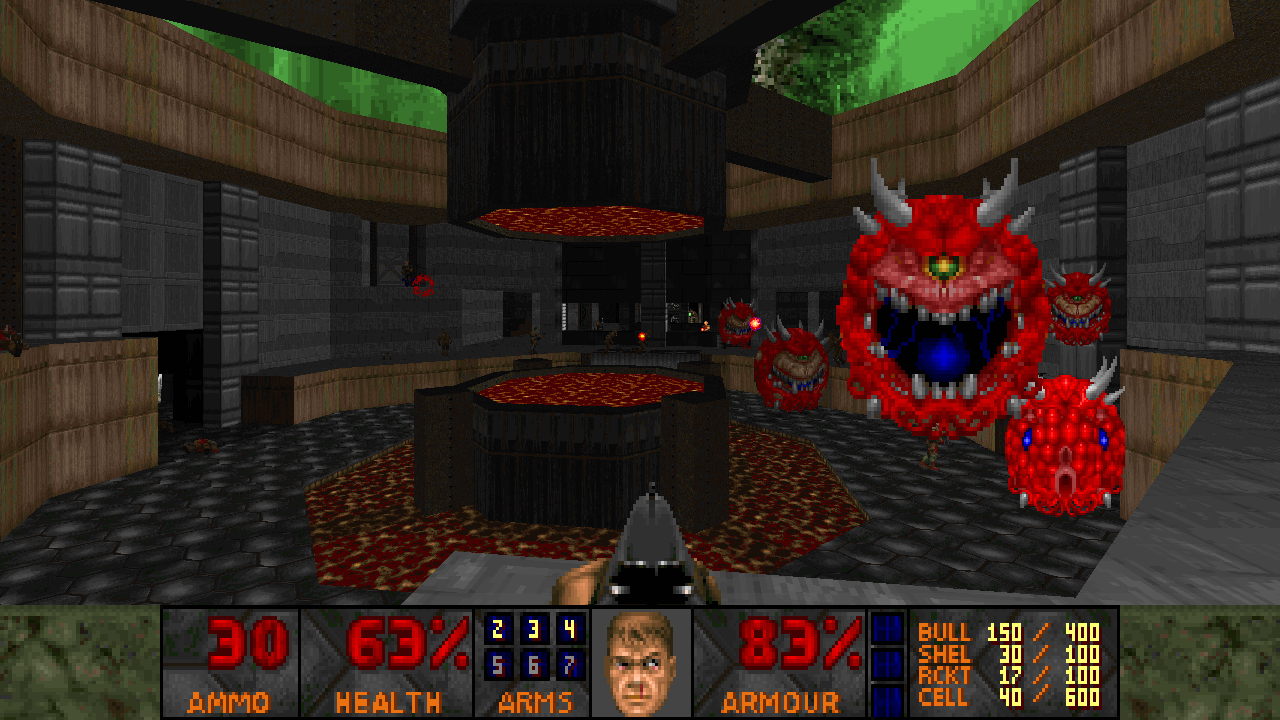
If you’re looking for some challenging combat scenarios, Return to Hadron is the episode for you. It may look a little bit like Romero’s Phobos in passing, but oldschool it is not. It hits you with everything Doom has to offer. Lost souls, barons, cacodemons. Especially cacodemons. Great, crimson clouds of the things.
It’s one hell of a finish.
All of the WADs mentioned here require DOOM.WAD and run on limit-removing source ports (though The Becoming and Incineration are fully vanilla-compatible. If you’re not sure how to get the WADs running, this may help. And for more awesome WADs, be sure to check these out!